How to Replace a Kitchen Sink: Step-by-Step Guide for a Smooth Upgrade
Replacing a kitchen sink requires disconnecting plumbing, removing the old sink, prepping the countertop, and installing the new unit correctly. Success depends on careful measurements, proper sealants, and reconnecting water lines without leaks. You’ll want to gather tools like a wrench, plumber’s putty, and silicone caulk before starting.
Updating your kitchen sink refreshes both the look and function of your workspace, addressing wear or improving features like deeper basins or modern designs. Skipping steps or rushing can lead to leaks or poor fit, making a careful approach essential for a lasting install.
This article walks through each phase of how to replace a kitchen sink—from choosing the right sink and safely detaching plumbing to sealing and testing your new installation. You’ll also find helpful tips to avoid common headaches that happen during kitchen sink installation.
Tools and Materials Needed for Kitchen Sink Replacement
Essential Tools for the Job
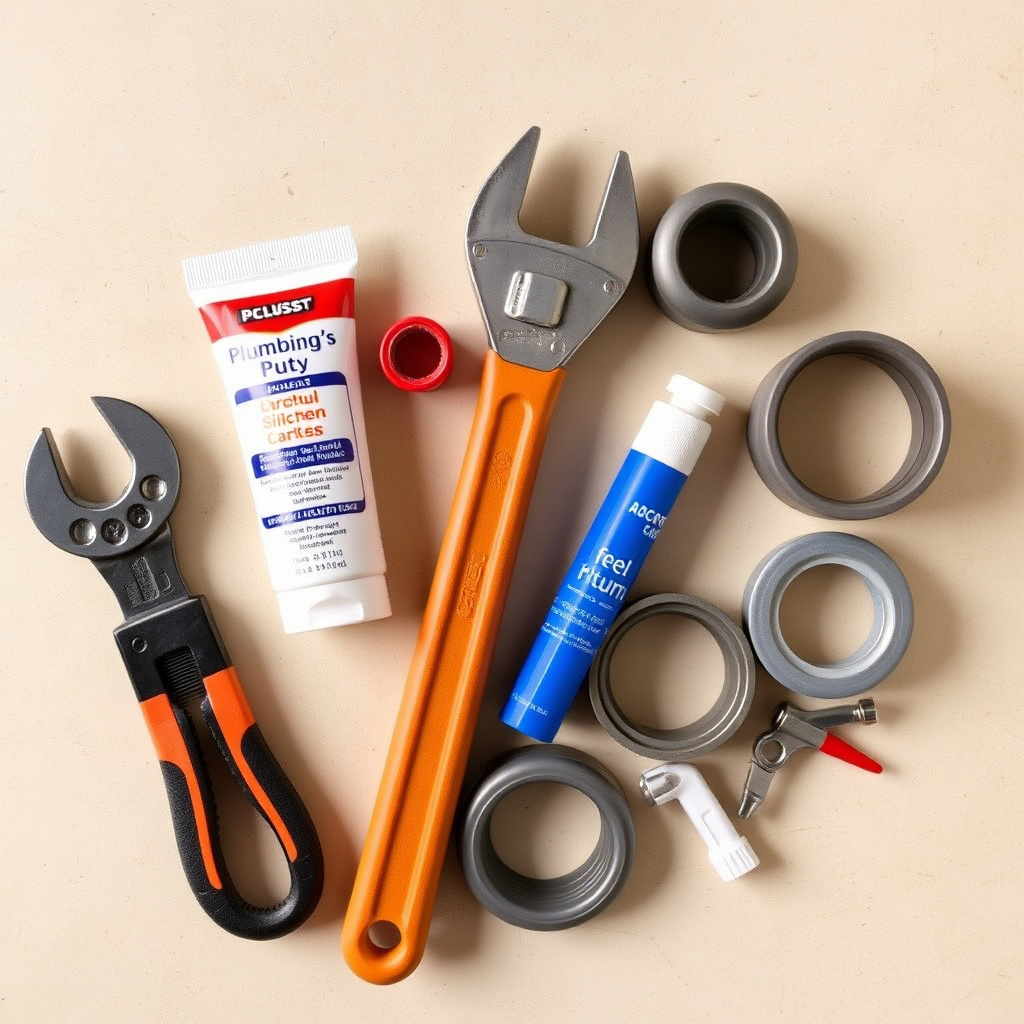
To replace a kitchen sink, assemble basic tools such as an adjustable wrench, basin wrench, bucket, utility knife, and screwdriver. These tools help you loosen and tighten fittings, cut sealants, and manage plumbing connections safely.
Having a flashlight and towels nearby also assists in managing water drips and ensuring you can see under cabinets clearly. Avoid substituting specialized tools to prevent damaging pipes or fittings.
- Adjustable wrench
- Basin wrench
- Utility knife
- Bucket
- Screwdrivers
- Towels and flashlight
Materials and Replacement Parts
Gather plumber’s putty or silicone sealant, pipe tape, new supply lines, and any new mounting hardware that comes with your replacement sink. Ensuring you have the correct sink size and mounting style before installation avoids costly mistakes.
Check all existing fittings for wear or corrosion and replace supply valves or drain components as needed to guarantee watertight connections and long-term reliability.
- Plumber’s putty or silicone sealant
- Pipe thread tape
- New supply lines
- Mounting clips/hardware
- Replacement valves (optional)
Removing the Old Kitchen Sink Safely

Shutting Off Water and Disconnecting Plumbing
Before removing the old sink, turn off the water supply valves beneath the sink to avoid leaks. Open the faucet to release pressure, then place a bucket under the drain traps to catch residual water.
Loosen the water supply lines using an adjustable wrench and then disconnect the drain assembly carefully. Keep fittings and parts organized if you plan to reuse them.
- Turn off water supply valves
- Release faucet pressure
- Catch water in bucket
- Disconnect supply lines and drain pipes
Detaching the Sink from the Countertop
Cut through any sealant or caulk sealing the edge of the sink to the countertop with a utility knife. Remove mounting clips or screws holding the sink in place from underneath the counter.
Lift the sink out gently to avoid damaging the countertop surface. If it feels stuck, double-check for remaining fasteners or adhesive spots.
- Cut sealant around sink edge
- Remove mounting hardware
- Lift out the sink cautiously
Preparing for the New Kitchen Sink Installation

Cleaning and Inspecting the Countertop
Clear all debris, old putty, or caulk residues from the countertop around the sink opening to ensure a smooth, level surface for sealant application. Inspect the countertop for damage that might affect the new sink’s fit.
Repair any chips or cracks before proceeding to prevent leaks or uneven installation that could compromise durability.
Measuring and Dry-Fitting the New Sink
Double-check that the new sink matches your countertop’s cutout dimensions. Place the sink into the opening without sealant to test fit and alignment.
Confirm that faucet holes align correctly and that supply line connections can reach without strain to prepare for final installation.
Installing the New Kitchen Sink
Sealing and Securing the Sink
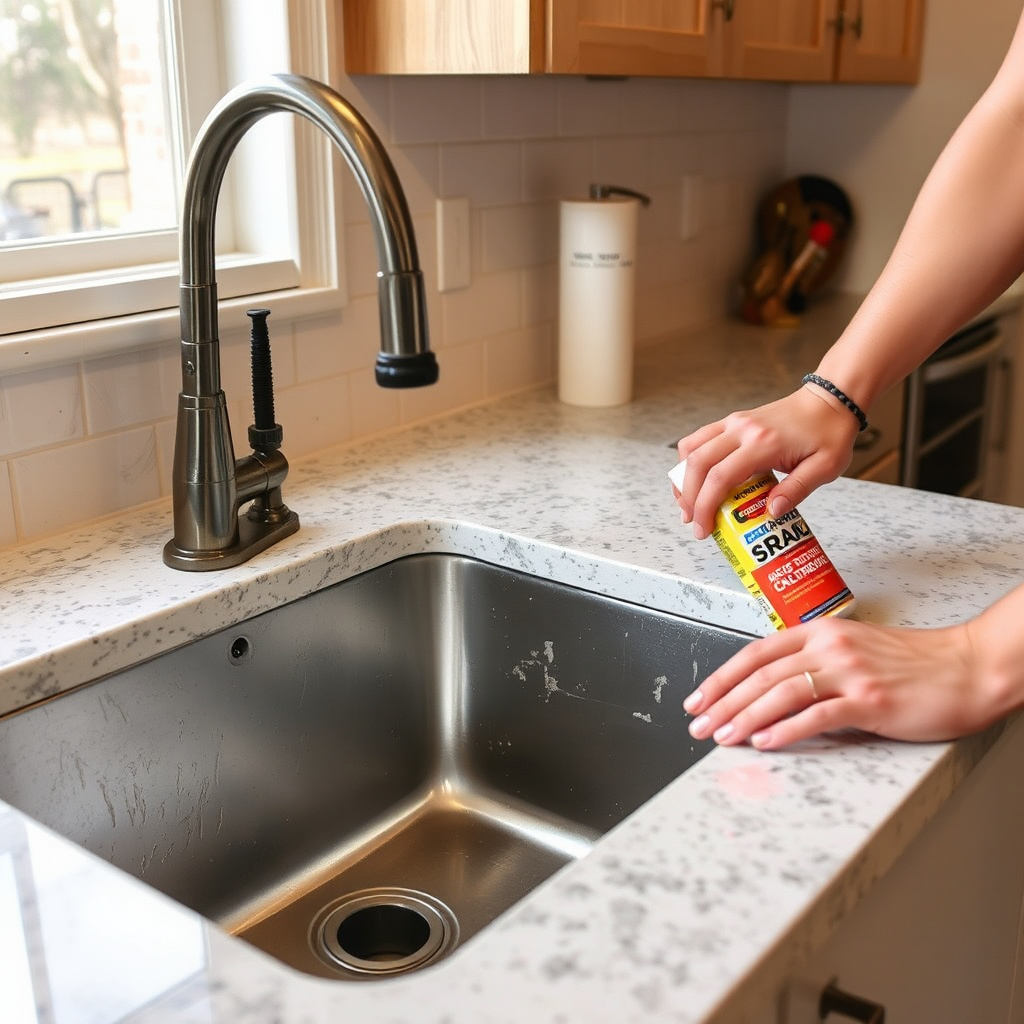
Apply plumber’s putty or a bead of silicone sealant around the sink’s edge that contacts the countertop to prevent leaks. Carefully lower the sink into the opening, pressing firmly to seat the sealant.
Attach mounting clips or brackets from underneath to hold the sink securely. Wipe away excess sealant promptly for a clean finish.
- Apply plumber’s putty or sealant
- Place sink in countertop opening
- Tighten mounting clips
Connecting Water Supply and Drainage
Reattach water supply lines to their valves and connect the drain pipe and P-trap. Use pipe thread tape on threaded fittings to prevent leaks. Slowly turn on the water and check all connections carefully for drips.
Tighten any connections that leak slightly, ensuring running water drains smoothly without blockages before completing the job.
- Reconnect supply lines
- Attach drain assembly
- Use pipe thread tape
- Test for leaks
Final Inspection and Maintenance Tips for Your Kitchen Sink

Performing a Leak and Stability Check
After installation, run hot and cold water simultaneously to observe all connections under the sink for leaks. Ensure the sink is firmly mounted with no movement.
Address any signs of dripping immediately to avoid water damage and maintain sink longevity.
For a broader understanding, you can refer to this detailed kitchen sink installation guide. kitchen sink installation guide.
Routine Care to Extend Sink Longevity
Clean the sink regularly with mild detergents and avoid harsh chemicals that can damage surfaces. Clear out debris from the drain trap periodically to prevent clogs.
Inspect faucet seals and supply lines annually to fix early wear signs before they evolve into leaks.
- Use mild cleaning products
- Clear debris from drains regularly
- Inspect plumbing connections yearly
Types of Kitchen Sinks Compared
Here is a comparison of popular kitchen sink types to help you pick the best fit for your kitchen and lifestyle.
| Sink Type | Material | Installation Style | Durability | Price Range |
|---|---|---|---|---|
| Stainless Steel | Stainless Steel | Drop-in / Undermount | High resistance to stains and heat | $100 – $600 |
| Composite Granite | Granite Composite | Undermount | Scratch resistant and durable | $200 – $800 |
| Cast Iron | Enameled Cast Iron | Drop-in / Undermount | Heavy but very durable | $300 – $1000 |
| Fireclay | Ceramic | Undermount | Scratch and heat resistant | $250 – $900 |
| Copper | Copper | Undermount | Natural antimicrobial properties | $400 – $1200 |
Frequently Asked Questions
Can I install a kitchen sink myself without plumbing experience?
Replacing a kitchen sink can be done by DIYers comfortable with basic plumbing tasks, but some plumbing knowledge is helpful for disconnecting and reconnecting pipes safely.
How long does it take to replace a kitchen sink?
Most kitchen sink replacements can be completed in 2 to 4 hours depending on sink type and plumbing complexity.
What type of sealant should I use around a kitchen sink?
Use plumber’s putty for the sink rim where it meets the countertop; silicone caulk works best for sealing gaps and exterior edges.
Is it necessary to replace supply lines when installing a new sink?
Replacing old supply lines is recommended for a reliable installation, especially if they show signs of wear or corrosion.
Can I change from a drop-in sink to an undermount sink in the same countertop?
Changing installation style often requires countertop modifications; consult a professional to evaluate your countertop material and cutout.
Key Takeaways
- Gather all proper tools and materials before beginning the sink replacement.
- Turn off water and disconnect plumbing carefully to avoid leaks and damage.
- Measure and dry-fit the new sink to confirm compatibility with your countertop.
- Apply sealants correctly and test all connections thoroughly to ensure no leaks.
Conclusion
Replacing a kitchen sink involves methodical preparation, careful disconnection of plumbing, and precise installation of the new unit. Focus on planning each step—selecting appropriate tools, confirming sink fit, and applying sealants correctly—to achieve a watertight and durable upgrade. This methodical approach limits mishaps that could cause leaks or damage to cabinetry.
If you prefer a straightforward change, stainless steel drop-in sinks offer an accessible replacement option without countertop modification. For a sleeker appearance, undermount composite granite sinks provide durability and ease of cleaning but require more installation skill. Selecting sink types as outlined in the comparison can clarify which suits your style and budget, balancing performance with aesthetic preferences.
Start by measuring your existing setup and gathering tools like an adjustable wrench and plumber’s putty. Carefully disconnect the old sink plumbing and take your time during installation to secure the new sink firmly. Should complications arise, consulting a licensed plumber can save you time and expense. With these concrete steps, upgrading your kitchen sink becomes a rewarding project enhancing both function and kitchen appeal.