How to Build an Outdoor Kitchen: A Step-by-Step Guide
Building an outdoor kitchen involves planning your design, choosing the right materials, installing appliances, and ensuring proper plumbing and electrical connections. With clear steps and understanding basic construction techniques, you can create a functional and inviting cooking space in your backyard.
Creating an outdoor kitchen not only enhances your home’s usability but also increases your property’s value and allows for comfortable, social cooking experiences during warm weather. The process requires a balance between aesthetics, functionality, and durability since your kitchen will face weather exposure.
This article will cover how to build an outdoor kitchen, including site selection, selecting materials and appliances, plumbing and electrical installation, and overall design tips to help you create a beautiful, long-lasting outdoor cooking area.
Planning Your Outdoor Kitchen Layout
Choosing the Right Location and Size
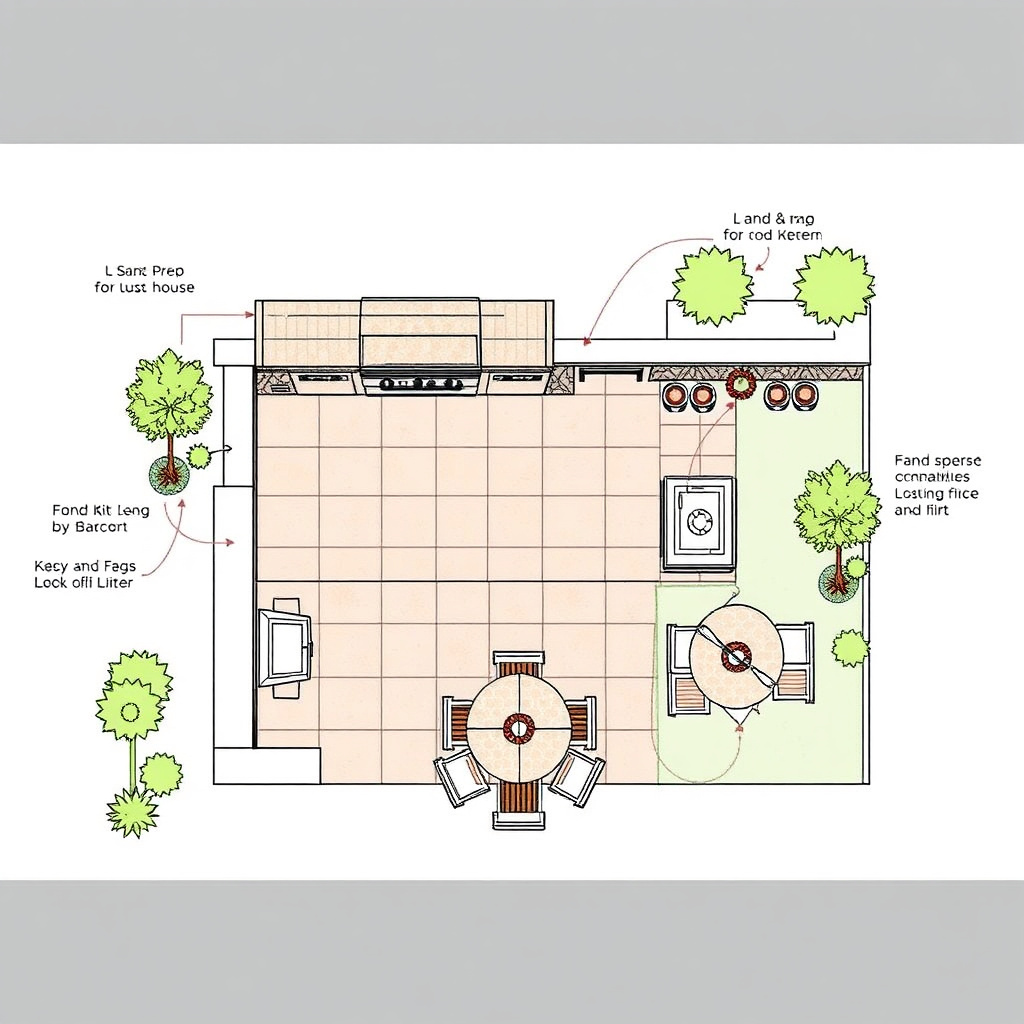
Select a location close to your indoor kitchen for convenience but far enough to prevent smoke or heat from entering your home. Consider sunlight, wind direction, and privacy factors to ensure comfort during cooking and dining.
Determine the size based on available space and how you plan to use your outdoor kitchen. A compact setup might include a grill and small prep area, while larger designs could incorporate multiple cooking appliances and extensive counter space.
- Near the house for easy access
- Sheltered from strong winds
- Flat and stable surface
- Adequate space for appliance clearance
Designing Functional Zones
Create distinct zones for grilling, food preparation, cooking, and serving to streamline workflow. Separating areas reduces clutter and keeps everything organized for efficient cooking.
Include adequate counter space between zones and position appliances like the grill, refrigerator, and sink in logical proximity. This functional layout makes cooking and entertaining smoother and more enjoyable.
- Grill area for cooking
- Prep zone with counters
- Cleaning station with sink
- Dining or seating nearby
Selecting Materials for Durability and Style

Choosing the Best Outdoor Kitchen Materials
Materials must withstand outdoor elements and frequent use. Popular choices include stone, brick, concrete, and stainless steel which offer durability and ease of maintenance.
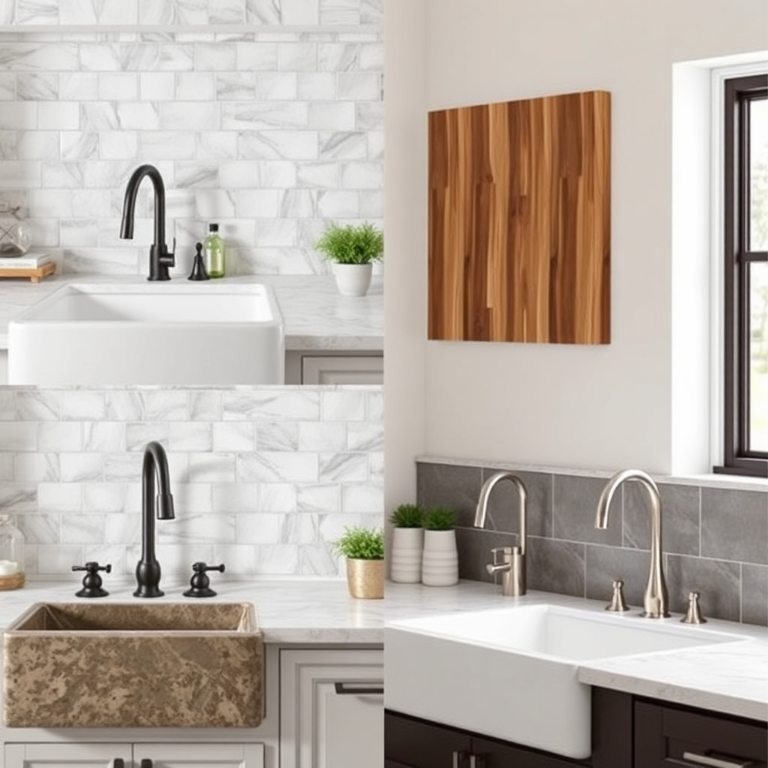
Natural stone creates a timeless, elegant look while stainless steel appliances provide corrosion resistance and longevity. Combining these materials can balance style and practicality for your outdoor kitchen.
- Granite or concrete countertops
- Stone or brick bases
- Stainless steel appliances
- Weatherproof cabinetry
Protective Finishes and Maintenance Tips
Apply sealants to stone or concrete surfaces to prevent staining and water damage. Choose weather-resistant finishes for wooden components to reduce rot and fading.
Routine cleaning and inspection will extend your kitchen’s lifespan. Cover appliances when not in use and winterize plumbing if you live in colder climates to avoid damage.
- Use sealers on stone surfaces
- Paint or stain wood annually
- Clean stainless steel regularly
- Cover appliances during bad weather
Installing Appliances and Utilities
Choosing and Installing Essential Appliances
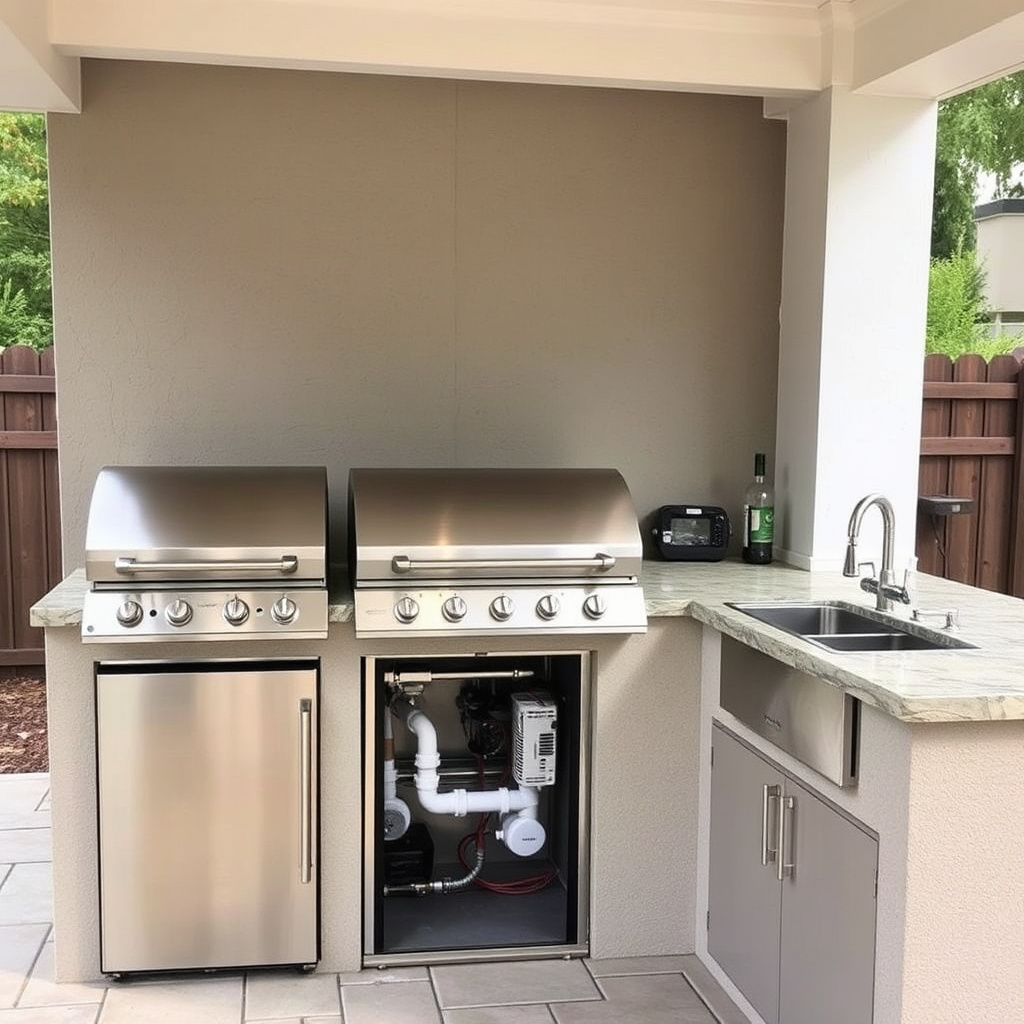
Your outdoor kitchen will likely need a grill, refrigerator, sink, and storage. Choose appliances designed for outdoor use to withstand weather exposure and provide reliable performance.
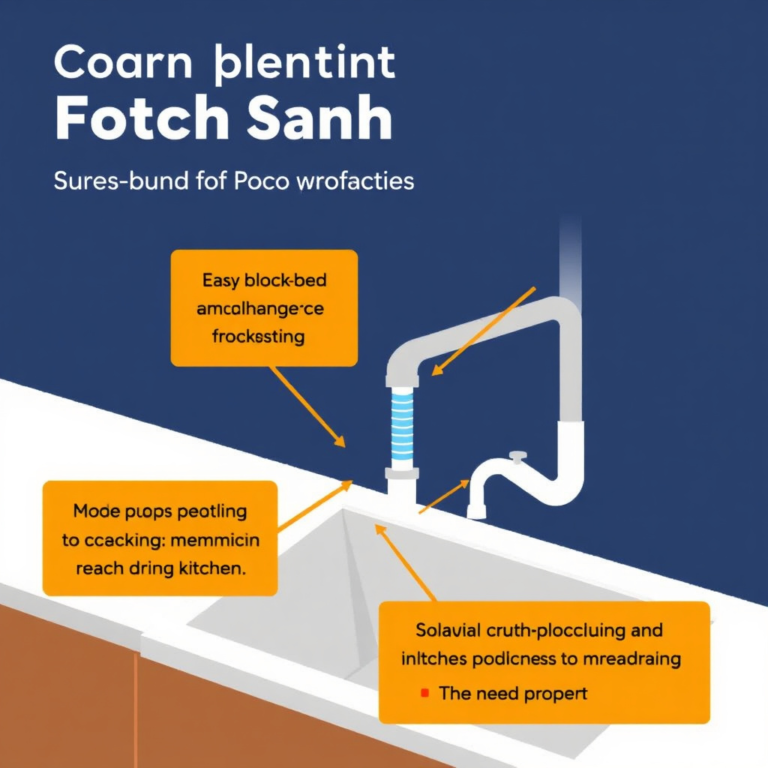
Plan utility hookups carefully, following local codes. Gas grills require proper lines and valves, while refrigerators and sinks need electrical and plumbing connections respectively.
- Outdoor-rated gas grill
- Weatherproof refrigerator
- Stainless steel sink and faucet
- Ample storage cabinets
Electrical and Plumbing Considerations
Hire licensed professionals to install electrical wiring and plumbing to meet safety standards. Installing GFCI outlets near water sources is necessary for safety.
Include drainage for sinks and consider creating an outdoor lighting setup to extend usability into evenings. Proper utility planning makes your kitchen both functional and safe.
- GFCI-protected electrical outlets
- Gas line installation with shutoff valves
- Water supply and drainage for the sink
- Outdoor-rated lighting fixtures
Design Elements to Enhance Your Outdoor Kitchen

Creating Comfort with Shelter and Lighting
Add shade with pergolas, umbrellas, or awnings to protect from sun and rain. This allows longer use of the space while shielding appliances from weather effects.
Install layered lighting options including task lighting around cooking areas and ambient lighting for dining zones. This combination improves functionality and atmosphere.
- Pergolas or retractable awnings
- LED task lighting near counters
- String lights or lanterns for ambiance
- Ceiling fans for ventilation
Incorporating Seating and Storage
Plan seating that encourages socializing such as bar stools or lounge chairs near the cooking area. This makes entertaining friends and family more interactive and fun.
Incorporate weatherproof storage to keep tools, utensils, and supplies protected and easily accessible. Storage choices impact both appearance and usability.
- Bar seating at counters
- Weatherproof cabinets
- Built-in shelves for utensils
- Outdoor-friendly dining tables
Budgeting and Costs for Building an Outdoor Kitchen

Estimating Material and Appliance Costs
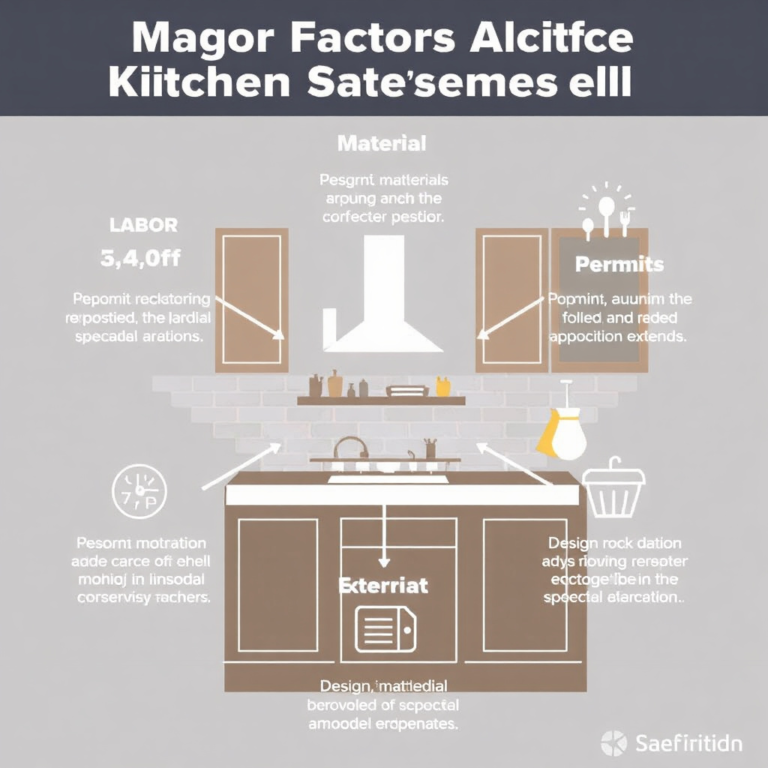
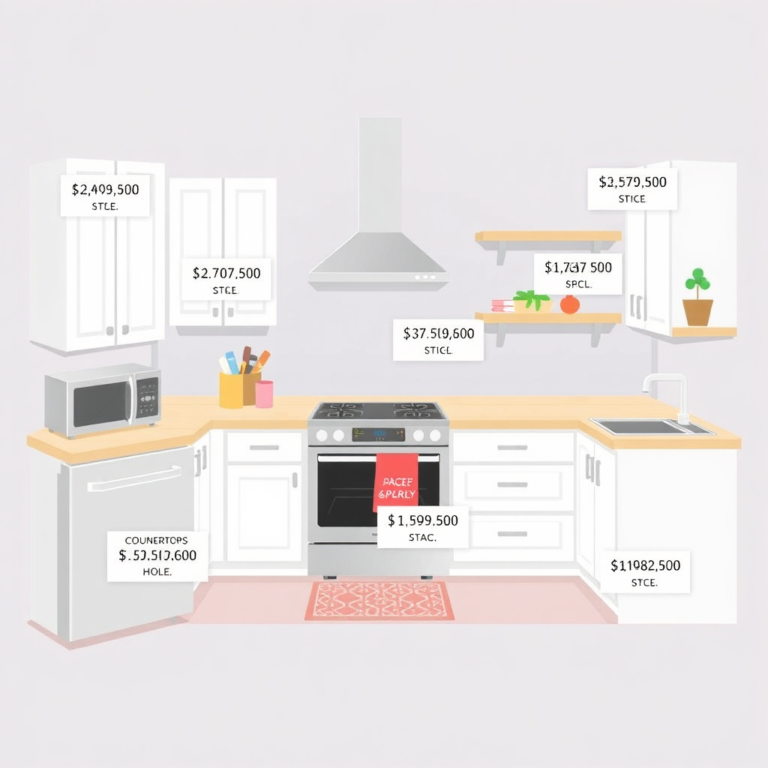
Costs vary widely depending on size, materials, and appliance quality. Basic outdoor kitchens can start around $2,000, while elaborate designs with high-end appliances may exceed $15,000.
Allocate budget for durable materials and essential appliances to get the best value over time, avoiding costly repairs or replacements.
- Grill: $500–$5,000
- Countertops: $1,000–$3,000
- Appliances: $500–$3,000
- Materials: $1,000–$5,000
Labor and Installation Expenses
Professional installation for plumbing, electrical, and construction can be a significant part of the budget. Labor costs depend on project complexity and regional rates.
Some homeowners reduce expenses by handling parts of the project themselves, such as assembling cabinets or laying countertops, while ensuring licensed professionals complete utilities work.
- Licensed electrician: $50–$100/hour
- Plumber rates: $45–$200/hour
- Masonry work: $40–$75/hour
- DIY can lower labor costs
Maintaining and Caring for Your Outdoor Kitchen

Routine Cleaning and Seasonal Care
Maintain your outdoor kitchen by regularly cleaning appliances, countertops, and cabinetry. Clear debris and food residues after each use to avoid damage and pests.
Seasonal maintenance, such as sealing stone surfaces and covering appliances in winter, helps prevent wear and prolongs your kitchen’s life.
- Clean grill grates after each use
- Wash countertops regularly
- Seal stone surfaces annually
- Cover kitchen in bad weather
For more about outdoor kitchen design principles and construction methods, refer to this detailed resource. Outdoor kitchen design and construction guidelines.
Troubleshooting Common Problems
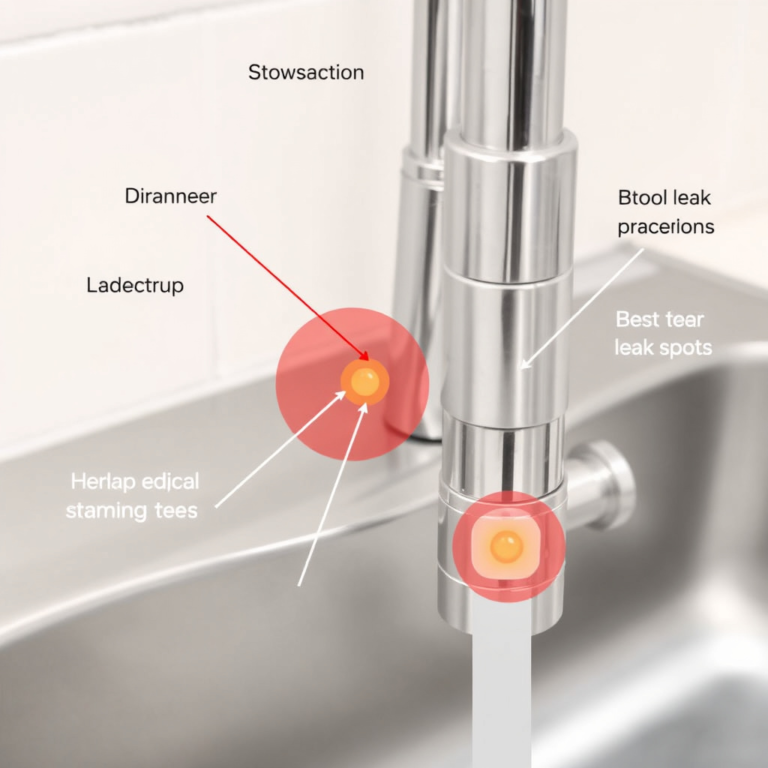
Watch for rust on metal components, cracks in countertop materials, or leaks in plumbing. Early detection and repair limit costly fixes later on.
Routine inspections and maintenance checks can identify potential issues like electrical faults or gas leaks, enabling prompt professional intervention.
- Inspect for rusting or corrosion
- Check plumbing connections
- Test electrical outlets
- Address appliance malfunctions quickly
Outdoor Kitchen Materials Comparison
Here is a comparison of common outdoor kitchen materials based on durability, maintenance, cost, and aesthetic appeal.
| Material | Durability | Maintenance | Cost | Aesthetic |
|---|---|---|---|---|
| Natural Stone | High | Medium (sealing needed) | High | Elegant, timeless |
| Brick | High | Low (occasional cleaning) | Medium | Traditional, rustic |
| Concrete | High | Medium (resealing) | Medium | Modern, customizable |
| Stainless Steel | Very high | Low (regular cleaning) | High | Sleek, contemporary |
| Weatherproof Wood | Medium | High (staining, sealing) | Medium | Warm, natural |
Frequently Asked Questions
How much space do I need for an outdoor kitchen?
A functional outdoor kitchen can start from about 50 square feet for a basic setup, but larger kitchens with multiple appliances and seating may require 200 square feet or more.
Can I build an outdoor kitchen myself?
DIY building is possible, especially for simple layouts, but plumbing, gas, and electrical work should be done by licensed professionals to comply with safety codes.
What is the best material for outdoor kitchen countertops?
Granite and concrete are preferred for durability and weather resistance, with granite offering a more elegant look and concrete allowing custom shapes and colors.
Do outdoor kitchens increase home value?
Yes, well-designed outdoor kitchens enhance your property's appeal and can increase home value, especially in regions with warm climates and outdoor lifestyle preferences.
How do I protect outdoor kitchen appliances during winter?
Use weatherproof covers, disconnect water lines and drain plumbing to prevent freezing, and store smaller appliances indoors if possible.
Key Takeaways
- Plan your outdoor kitchen layout for functionality and comfort.
- Select durable, weather-resistant materials like stone and stainless steel.
- Hire professionals for electrical, plumbing, and gas installations.
- Regular maintenance extends the life of your outdoor kitchen.
Conclusion
Building an outdoor kitchen requires thoughtful planning, focusing on location, layout, and material choices. Balancing style with practical considerations like utility access and weather protection will create a space that is both enjoyable and durable. Prioritizing functional zones helps streamline cooking tasks and social interaction in your outdoor area.
Materials such as natural stone, concrete, and stainless steel appliances offer strong resistance to outdoor conditions and elevate the kitchen’s appearance. Incorporating essential appliances alongside adequate seating and lighting ensures the kitchen meets your cooking and entertaining needs. Whether you choose a basic grill setup or a full-scale kitchen with plumbing, professional installation of utilities is critical for safety and code compliance.
Start by assessing your available space and budget, then select materials and appliances that match your style and durability requirements. With clear planning and regular upkeep, your outdoor kitchen will become a favorite gathering spot. Consider consulting with local contractors to bring your vision to life and to handle technical installations securely.