How to Remove a Kitchen Faucet: A Step-by-Step Guide
Removing a kitchen faucet involves loosening the mounting nuts under the sink, disconnecting the water supply lines, and freeing the faucet from its position. This can be done with a few basic tools like an adjustable wrench, basin wrench, and plumber’s tape. Safety requires turning off the water supply before starting.
Knowing how to remove a kitchen faucet yourself saves time and money on repairs or upgrades. Faucets often need replacement due to wear, leaks, or aesthetic updates. Preparing by gathering tools and understanding the plumbing layout under your sink makes the process smoother and minimizes the risk of damage.
This guide will cover the necessary preparations, step-by-step removal instructions, tips for tricky faucet types, safety precautions, and what to do after removal. Whether upgrading to a new model or simply removing for maintenance, these clear steps will help you tackle the job confidently.
Preparation Before Removing Your Kitchen Faucet

Gathering Essential Tools and Materials
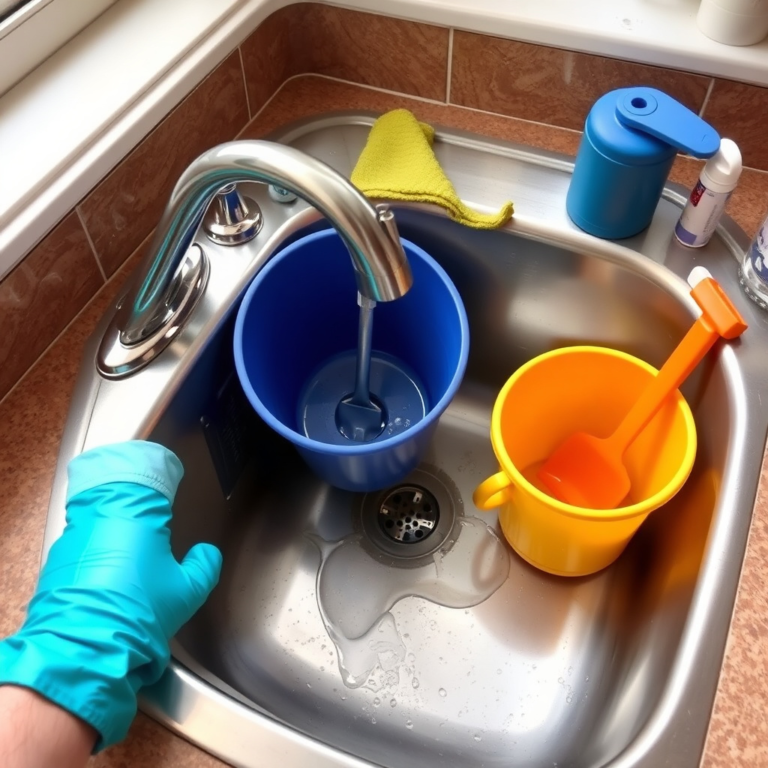
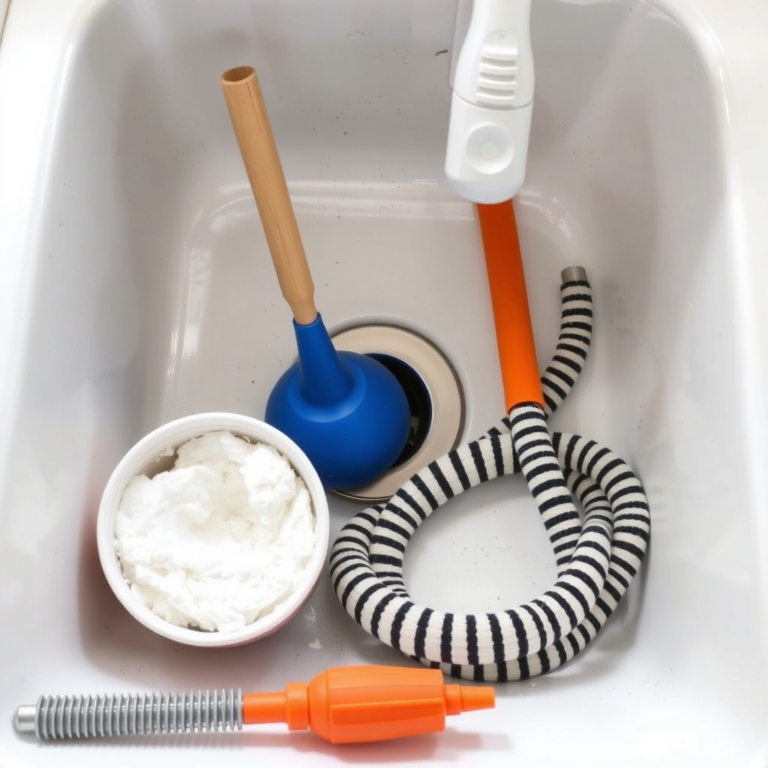
Before starting, collect an adjustable wrench, basin wrench for hard-to-reach nuts, bucket to catch water drips, plumber's tape, and a flashlight. These will help you manage connector loosening, water spillage, and visibility under the sink.
Having everything at hand minimizes interruptions during faucet removal and helps protect plumbing fittings from damage. A basin wrench is especially useful because it can grip nuts in tight spaces beneath sinks where regular wrenches won't fit.
- Adjustable wrench
- Basin wrench
- Bucket
- Plumber's tape
- Flashlight
Turning Off the Water Supply
Locate the shutoff valves under the sink for hot and cold water. Turn them clockwise until tight to stop water flow to the faucet. If shutoff valves are absent or faulty, turn off the home's main water supply.
Confirm water is off by opening the faucet and checking no water flows out. This prevents accidental leaks or water damage during the faucet removal process.
Disconnecting the Water Supply Lines
Loosening Supply Line Connections
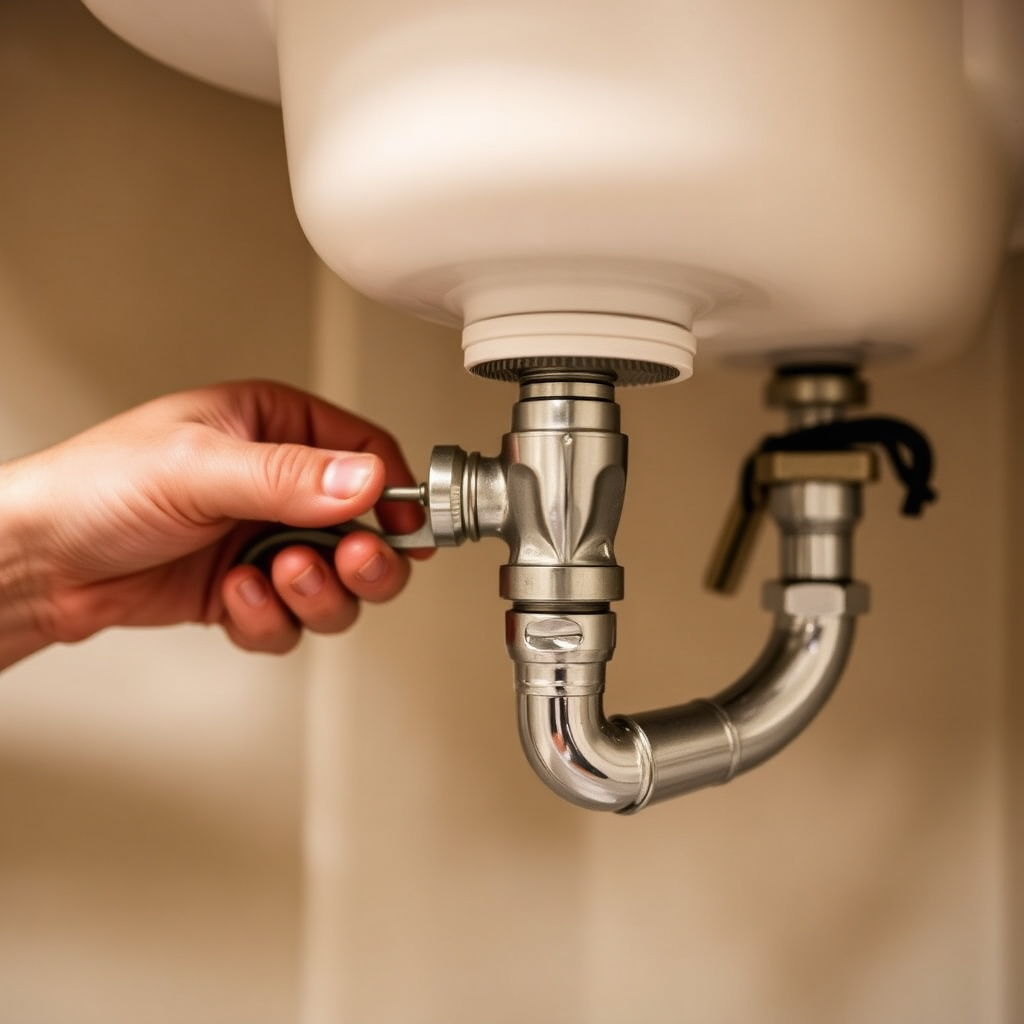
Use an adjustable wrench to carefully loosen the nuts connecting the hot and cold water supply lines to the faucet. Turn counterclockwise to unscrew. Have a bucket underneath to catch any residual water.
Be gentle to avoid damaging the connectors or pipes. If connections are stiff, applying penetrating oil and allowing time to soak can help loosen them without force.
Removing Old Supply Lines if Necessary
If the supply lines are old, corroded, or part of the faucet unit, removing them simplifies faucet extraction. Disconnect both ends: the valve side and faucet side. Be ready to replace these lines during kitchen faucet replacement for better performance.
When supply lines are reusable, keep them aside but inspect for leaks or wear before reusing to ensure reliable plumbing connections.
Loosening and Removing Kitchen Faucet Mounting Hardware

Using the Basin Wrench to Access Mounting Nuts
Most kitchen faucets are secured by mounting nuts attached beneath the sink basin. Due to limited space, a basin wrench which has a swivel head is ideal to reach and loosen these nuts.
Place the wrench around the nut, turn counterclockwise carefully. Some nuts might be tight from years of use, so patience and steady turning are key.
Freeing the Faucet from the Sink
Once all mounting nuts are removed, wiggle the faucet gently from above the sink to loosen any sealant or putty holding it in place. Lift it out carefully to avoid damaging the sink surface.
If stuck, a plastic putty knife or a gentle twisting motion can help break the seal without scratching. Clean any old sealant residue before preparing for installation of a new faucet.
Handling Different Faucet Types During Removal

Dealing with Single-Handle Faucets
Single-handle faucets often have a set screw securing the handle, usually hidden under a decorative cap. Remove the handle by loosening this screw before accessing mounting nuts.
Once the handle is off, proceed with disconnecting water lines and removing mounting hardware. The handle removal prevents damage and eases faucet extraction.
Removing Pull-Out or Side Sprayer Faucets
Pull-out faucets have a hose attached to the spray head that usually runs through the spout. Disconnect this hose from underneath the sink before loosening mounting nuts to avoid damage.
Side sprayers have separate tubing; disconnect that line carefully and note its position for reinstallation during kitchen faucet replacement.
Post-Removal Steps and Cleanup

Cleaning the Sink Surface
After removing the faucet, clean the sink area thoroughly removing old plumber’s putty, caulk, and mineral deposits. Use a putty knife and mild cleaning solution to restore a smooth surface for the new faucet.
This step ensures a watertight seal and prevents leaks when the new kitchen faucet replacement is installed.
For additional technical details and history, you can refer to the Kitchen faucet removal article on Wikipedia. Kitchen faucet removal – Wikipedia.
Inspecting Plumbing Connections for Damage
Check supply lines, valves, and pipe threads for corrosion, cracks, or leaks. Replace damaged parts before installing the new faucet. This reduces future repairs and improves faucet lifespan.
Verify that shutoff valves operate properly and that connections are secure.
Kitchen Faucet Removal Tools Comparison
Here’s a comparison of essential tools used for removing kitchen faucets based on ease of use, cost, and accessibility for tight spaces.
| Tool | Ease of Use | Cost | Best For |
|---|---|---|---|
| Adjustable Wrench | Moderate | $10-$25 | Loosening supply line nuts |
| Basin Wrench | Easy in tight spaces | $15-$30 | Mounting nut removal beneath sink |
| Pliers | Basic | $5-$15 | Grip connectors and tubing |
| Penetrating Oil | Facilitates loosening | $5-$15 | Rusty or stuck fittings |
Frequently Asked Questions
Do I need to turn off the water supply to remove a kitchen faucet?
Yes, always turn off the shutoff valves under the sink or the main water supply to prevent water leaks before removing the faucet.
What should I do if mounting nuts are stuck and won’t turn?
Apply penetrating oil to the nuts and wait 10-15 minutes. Use a basin wrench for better leverage and avoid excessive force to prevent damage.
Can I reuse the old supply lines when installing a new faucet?
It’s best to replace old supply lines during kitchen faucet replacement to avoid leaks and ensure secure connections with the new faucet.
How do I remove a single-handle kitchen faucet?
First, remove the handle by loosening the set screw under a decorative cap, then disconnect water lines and mounting hardware to remove the faucet.
Is it necessary to clean the sink surface after faucet removal?
Yes, cleaning removes old putty, caulk, and deposits to create a clean sealing surface for installing a new faucet and prevent leaks.
Key Takeaways
- Turn off water supply before starting faucet removal.
- Use a basin wrench to access mounting nuts under the sink.
- Disconnect all water supply lines carefully to avoid leaks.
- Clean the sink surface and check plumbing before installing a new faucet.
Conclusion
Understanding how to remove a kitchen faucet effectively combines preparation, the right tools, and a methodical approach. Starting with shutting off the water supply and gathering tools like an adjustable wrench and basin wrench creates a smooth workflow. Carefully loosening supply lines and mounting hardware prevents damage to plumbing components. Paying attention to faucet type nuances, such as single-handle or pull-out models, further simplifies removal. Finally, cleaning and inspecting plumbing after removal sets the stage for a successful kitchen faucet replacement.
Specific scenarios often dictate the approach: those dealing with older faucets frequently face stubborn mounting nuts and corroded supply lines, making penetrating oil and basin wrenches invaluable. For popular single-handle faucets, removing the handle first provides easier access. Pull-out or side sprayer faucets require additional detachment of hoses before full removal. Choosing suitable tools and understanding the faucet type streamlines removal and minimizes repair or replacement hassle. Keeping new supply lines handy during kitchen faucet replacement prevents delays.
For anyone preparing to remove a kitchen faucet, the next step is to ensure all needed tools and materials are within reach and to carefully follow each stage of the removal process described above. If uncertain about particularly stuck fittings or complex faucet models, consulting a professional plumber could avoid costly mistakes. Ultimately, gaining confidence through practical experience will turn faucet removal into a manageable DIY task that saves money and improves home plumbing.