How to Repaint Kitchen Cabinets: A Step-by-Step Guide for a Fresh Look
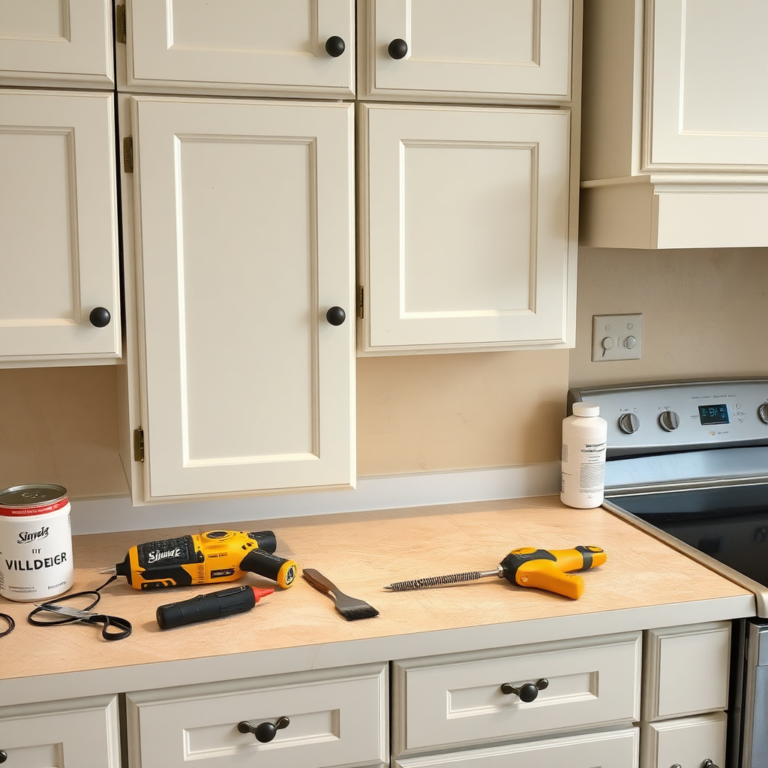
Repainting kitchen cabinets is an excellent way to transform the heart of your home without a full renovation. To start, thoroughly clean and sand the cabinet surfaces to remove grime and old finishes. Then, apply a good-quality primer followed by your chosen paint, allowing proper drying time between coats for a smooth, durable finish. This approach provides a refreshed look that can dramatically change the ambiance of your kitchen.
Kitchen cabinets are focal points that significantly influence your kitchen's style and feel. Over time, they can look worn or outdated, making repainting a practical solution that is both cost-effective and customizable. Selecting the right preparation methods and products matters because kitchen environments demand durability to resist moisture, heat, and wear.
This article will cover each phase of repainting kitchen cabinets thoroughly, including surface preparation, selecting appropriate paint, and finishing touches. Additionally, tips for avoiding common pitfalls will ensure your project not only looks great but stands up to daily use.
Preparing Kitchen Cabinets for Repainting
Cleaning and Degreasing Cabinets
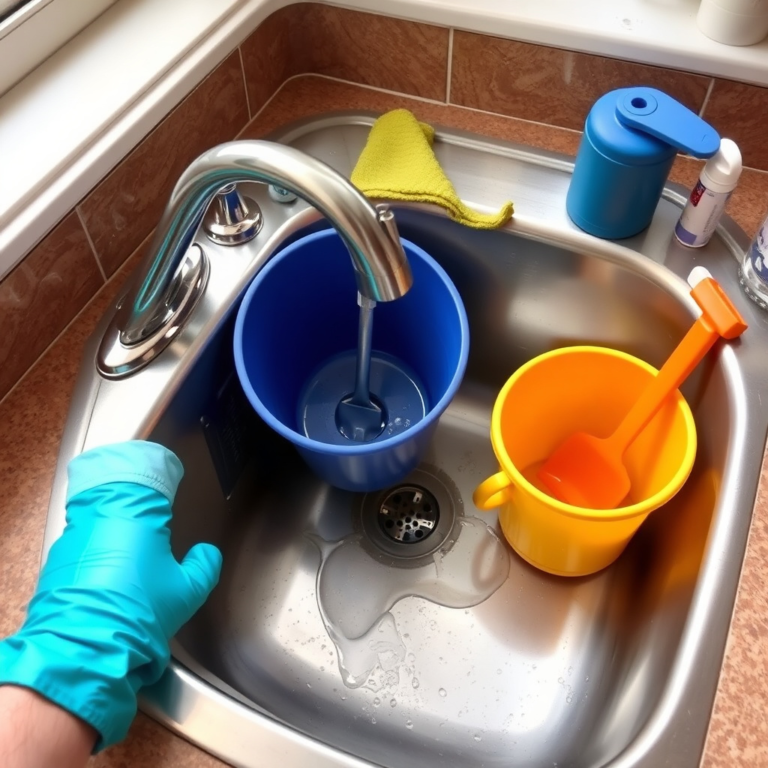
Before any sanding or painting, it's critical to clean the cabinets to remove grease, oils, and dirt that accumulate over time. Use a mixture of warm water and a degreaser or trisodium phosphate (TSP) to thoroughly wipe down all surfaces.
This preparation step ensures that paint adheres properly to the surface and prevents peeling. Allow the cabinets to dry fully before moving to sanding.
- Use gloves and protective eyewear while cleaning
- Apply cleaner with a sponge or rag for precision
- Rinse with clean water after degreasing
Sanding and Surface Smoothing
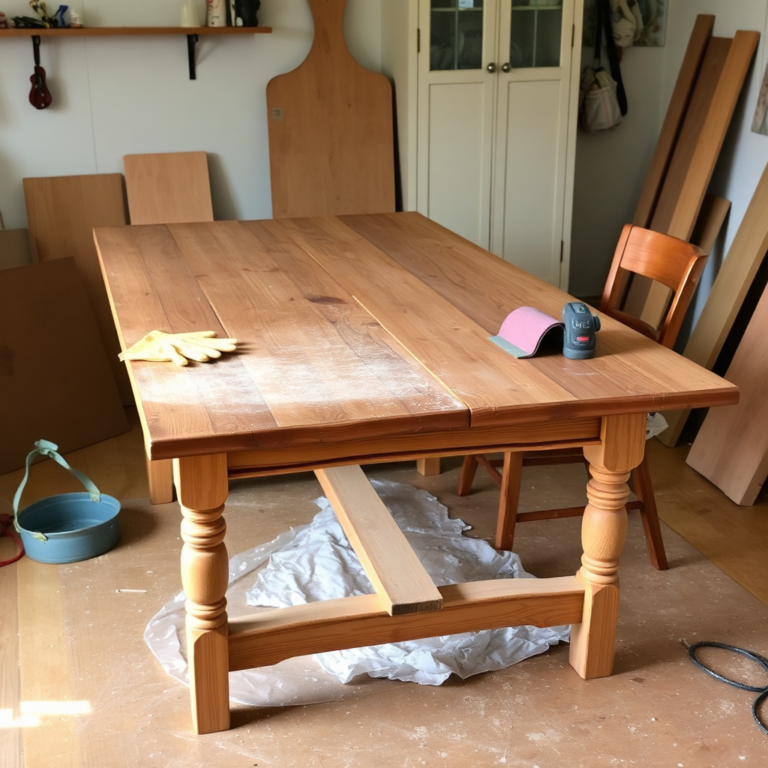
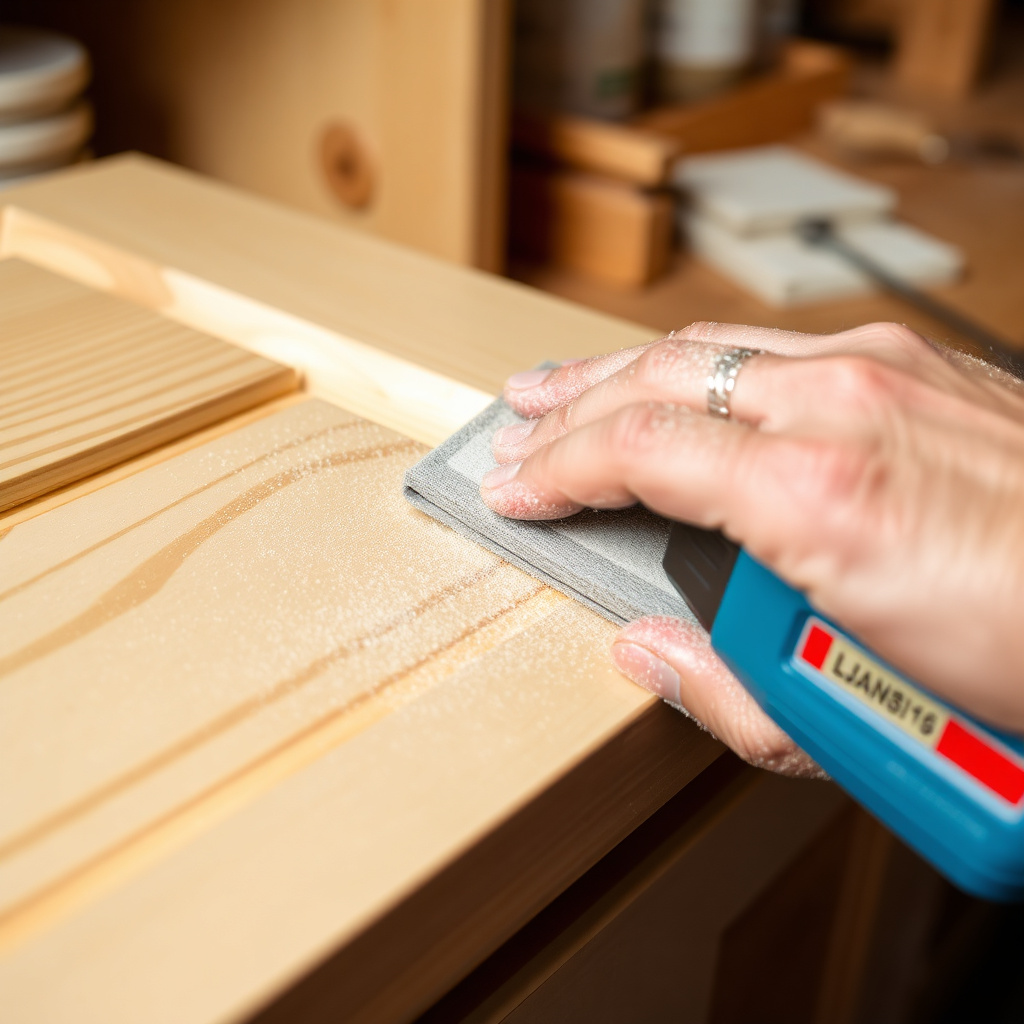
Sanding removes old paint and rough spots, creating a smooth surface for the primer and paint. For most cabinets, start with medium-grit sandpaper (120-150 grit) and finish with fine grit (220 grit) to avoid scratches.
Pay extra attention to edges and corners where wear is common, ensuring consistent smoothness across all surfaces.
- Use a sanding block or orbital sander for even pressure
- Clean dust thoroughly after sanding using a vacuum or tack cloth
Choosing the Right Paint for Kitchen Cabinets

Types of Paint Suitable for Cabinets
Selecting the best paint for kitchen cabinets involves choosing durable finishes resistant to stains and moisture. Semi-gloss and satin acrylic enamel paints are popular due to their hardiness and ease of cleaning.
Oil-based paints provide strong adhesion, though they take longer to dry and emit stronger odors. Water-based paints offer quicker drying and lower VOCs, making them a preferred choice for indoor projects.
- Semi-gloss for high durability and shine
- Satin for a softer finish with good resilience
Primer Selection and Application
Applying a primer improves paint adhesion and seals stains or wood tannins, preventing them from bleeding through the finish coats. Choose a bonding primer compatible with your paint type.
Use a brush or roller suited for smooth finishes and apply thin, even coats. Let the primer cure fully before painting to avoid bubbling or peeling.
- Use stain-blocking primers on knotty woods
- Allow adequate drying time as per manufacturer instructions
Painting Techniques for a Professional Finish
Brush vs. Sprayer Application
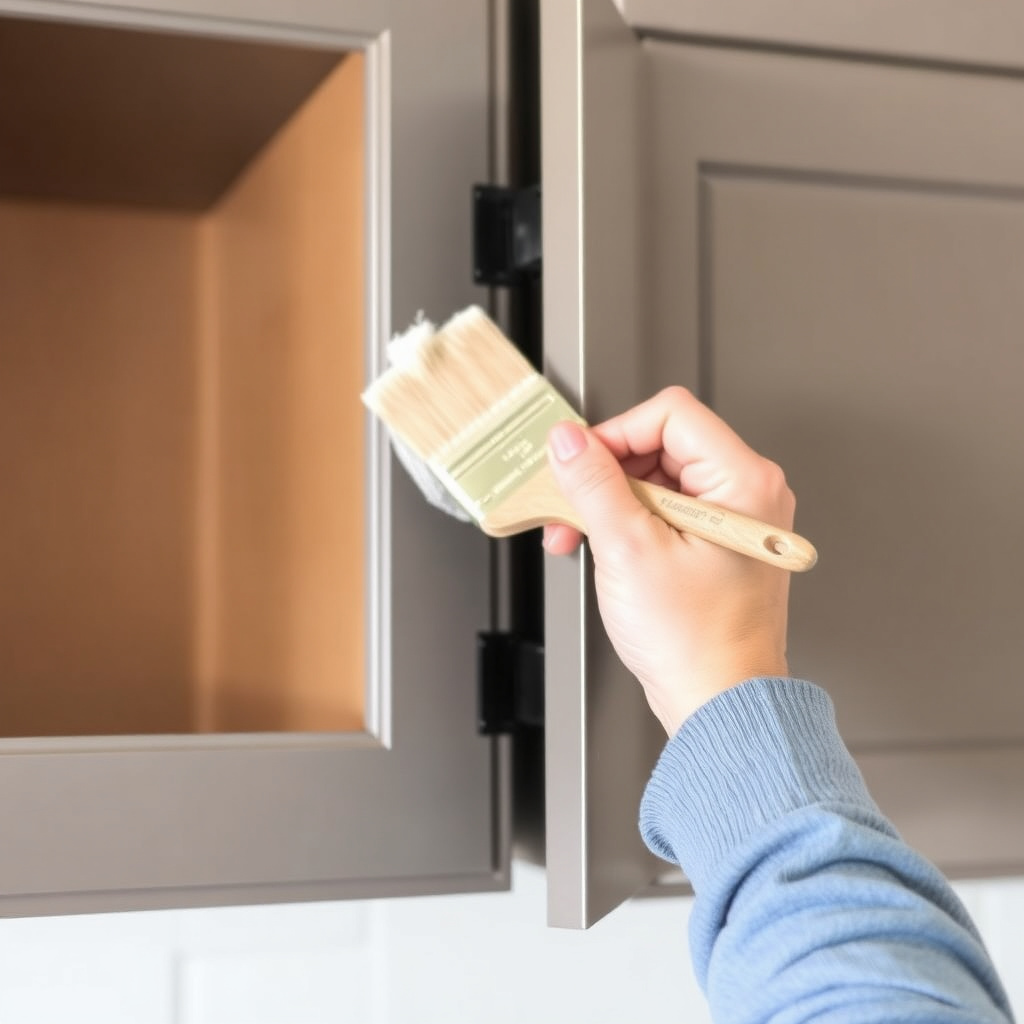
Using a brush gives more control for detailed areas and edges, while spraying offers faster coverage and an ultra-smooth finish. Sprayers require masking of surrounding areas to avoid overspray.
For beginners, a high-quality angled brush combined with a small foam roller yields good results without specialized equipment.
- Brush for trim and corners
- Roller for flat surfaces
- Sprayer for uniform, fast coverage
Number of Coats and Drying Times
Apply at least two coats of paint for full coverage, allowing proper drying between coats to prevent tackiness or brush marks. Drying times vary by paint type but generally range from 2 to 6 hours.
Lightly sand between coats with very fine sandpaper or sanding pads to ensure adhesion and smoothness for the subsequent layer.
- Don't rush recoating; follow manufacturer's drying recommendations
- Use light sanding between coats
Finishing and Protecting Painted Cabinets

Clear Topcoats and Sealers
Applying a clear polyurethane or acrylic sealer adds a protective barrier against scratches, moisture, and daily wear. Choose water-based topcoats with low yellowing tendency for colored paints.
A single or double coat of topcoat greatly extends the life of your paint job, especially in a kitchen setting.
- Choose finishes: matte, satin, or gloss per aesthetic preference
- Apply thin, even layers with a clean brush
Hardware Reinstallation and Final Touches
Once all paint and protective coats are fully dry, reinstall cabinet hardware such as knobs and handles. Consider upgrading hardware for a complete style refresh.
Inspect all cabinet surfaces for touch-ups, clean up any paint spills, and ensure doors and drawers operate smoothly before declaring the project complete.
- Use new hardware screws if originals are stripped
- Clean painted surfaces gently with a soft cloth to maintain finish
Common Problems and Solutions When Repainting Cabinets

Dealing with Paint Peeling and Chipping
Paint peeling often results from inadequate surface prep or moisture penetration. Thorough sanding and primer use can prevent this issue.
If peeling occurs after painting, scrape off damaged paint, sand smooth, reapply primer, and repaint the affected areas.
- Inspect kitchen humidity levels to reduce moisture exposure
- Use moisture-resistant primers and paints
Avoiding Brush Marks and Drips
Brush marks occur when paint is applied too thickly or with poor-quality brushes. Use quality brushes and thin coats for a smooth finish.
Rollers and sprayers can reduce brush marks but require proper technique to avoid drips and uneven coverage.
- Avoid overloading brushes with paint
- Maintain a wet edge while painting
Maintenance Tips for Painted Kitchen Cabinets

Cleaning Painted Cabinets Without Damage
Regular cleaning with mild soap and water removes grease and dirt without harming the paint. Avoid abrasive cleaners or scrubbing pads that can scratch the surface.
Dry cabinets after cleaning to prevent moisture buildup, which can degrade paint over time.
- Use soft cloths or sponges
- Clean spills promptly to avoid staining
For more details on kitchen cabinet materials and styles, see the Kitchen cabinet painting overview on Wikipedia. Kitchen cabinet painting overview on Wikipedia.
When to Touch Up Paint
Inspect cabinets periodically for chips or scratches. Small damaged spots can be touched up using leftover paint to keep the surface looking fresh.
For extensive wear, consider repainting after several years depending on usage and environmental factors.
- Store leftover paint properly
- Sand and clean touch-up areas before application
Kitchen Cabinet Painting Options Comparison
This table compares popular paint types and finishes to help you choose the best solution for repainting kitchen cabinets.
| Paint Type | Durability | Drying Time | Finish Appearance | Ease of Application |
|---|---|---|---|---|
| Oil-Based | Very High | 12-24 hours | Glossy to Satin | Moderate (requires ventilation) |
| Water-Based Acrylic | High | 2-4 hours | Satin to Semi-Gloss | Easy (low odor) |
| Chalk Paint | Medium | 1-2 hours | Matte | Easy (minimal prep) |
| Spray Paint (Enamel) | High | 1-3 hours | Smooth, even gloss | Requires skill and masking |
Frequently Asked Questions
How long does it take to repaint kitchen cabinets?
Repainting kitchen cabinets typically takes several days due to cleaning, sanding, priming, multiple paint coats, and drying times between steps.
Can I repaint kitchen cabinets without sanding?
Light sanding is recommended to ensure paint adhesion and avoid peeling, but some paints claim to adhere well to glossy surfaces if cleaned thoroughly.
What is the best type of paint for kitchen cabinets?
Water-based acrylic enamel paints with satin or semi-gloss finishes are widely regarded as the best due to durability and ease of cleaning.
How do I prevent paint from peeling on kitchen cabinets?
Proper surface cleaning, sanding, and using a quality primer before painting greatly reduce the chances of peeling.
Should I remove cabinet doors before repainting?
Removing doors and hardware allows better access for even painting and reduces the risk of drips on adjoining surfaces.
Key Takeaways
- Thorough cleaning and sanding are essential for paint adhesion.
- Use quality primer and the best paint for kitchen cabinets for durability.
- Apply multiple thin coats with proper drying and light sanding.
- Protect finished cabinets with a clear topcoat for longevity.
Conclusion
Repainting kitchen cabinets requires a methodical approach focused on preparation, product choice, and technique to achieve a lasting finish. Starting with well-cleaned and sanded surfaces ensures the paint adheres correctly, while selecting the appropriate primer and paint type addresses the kitchen's unique demands for durability and moisture resistance. Attention to application details, like applying thin coats and allowing sufficient drying time, avoids common painting issues and yields professional-looking results that refresh your kitchen’s style.
For homeowners looking for the best paint for kitchen cabinets, water-based acrylic enamels in satin or semi-gloss finish strike a balance between durability and ease of maintenance. Oil-based paints offer strong adhesion but require longer drying times and more ventilation. Using high-quality primers tailored to your paint choice prevents stains and peeling, and adding a clear polyurethane topcoat extends the life of your makeover. For quicker projects, some may explore chalk paints, though these typically need a protective layer for kitchen use.
If you're ready to start, prepare by gathering quality cleaning supplies, sandpaper, primers, and the recommended paints. Consider removing doors and hardware for better access and coverage. Follow the outlined steps carefully for sanding, priming, painting, and sealing to breathe new life into your kitchen at a fraction of the cost of a full remodel. This approachable project adds immediate style and value with lasting durability.