How to Replace a Kitchen Sink: A Step-by-Step Guide
Replacing a kitchen sink involves disconnecting the plumbing, removing the old sink, preparing the area, and installing the new sink properly. This task can be completed within a few hours with basic plumbing skills and the right tools. The main steps include turning off the water supply, detaching pipes, removing sink clips, and sealing around the new sink after placement.
Knowing how to replace a kitchen sink matters because it affects your kitchen's functionality and hygiene. A leaking or damaged sink can cause water damage and mold growth, so timely replacement prevents bigger problems. Whether upgrading your sink style or repairing persistent issues, the replacement process ensures a watertight seal and proper drainage.
This guide covers everything from selecting the right sink and tools, to safely removing your old sink, to step-by-step instructions for installation, including plumbing reconnection and sealing techniques. By following these instructions, you’ll be confident your kitchen sink replacement is done correctly and efficiently.
Choosing the Right Sink for Your Kitchen

Types of Kitchen Sinks
Kitchen sinks come in several materials including stainless steel, cast iron, composite granite, and porcelain. Each material offers different durability, maintenance needs, and aesthetic appeal. Stainless steel sinks are popular for their affordability and resistance to rust, while cast iron sinks provide a classic look but require extra care to avoid chipping.
Sink configurations vary as well, such as single bowl, double bowl, and farmhouse styles. Double bowls allow multitasking with food prep on one side and washing on the other, whereas single bowls maximize space for larger items. Your choice should reflect your kitchen use patterns and cabinet space.
- Stainless steel: lightweight, rust-resistant
- Cast iron: durable, enamel-coated
- Composite granite: stain-resistant, heavy
- Porcelain: elegant but prone to chipping
Measuring and Fit Considerations
Accurate measurements are critical before buying a new sink. Measure the width, depth, and height of the existing sink opening along with cabinet dimensions. Most sinks have standard sizes, but custom-fit sinks are available for unique countertop cutouts.
Keep the plumbing layout in mind. The drain and faucet holes should align with your existing plumbing to avoid complicated modifications. If considering a drop-in or undermount sink, check compatibility with your countertop material and edge design.
- Measure sink opening width and length
- Confirm cabinet size and under-counter space
- Match drain hole placement to plumbing
- Check countertop compatibility for undermount sinks
Tools and Materials Needed for Kitchen Sink Replacement
Essential Tools
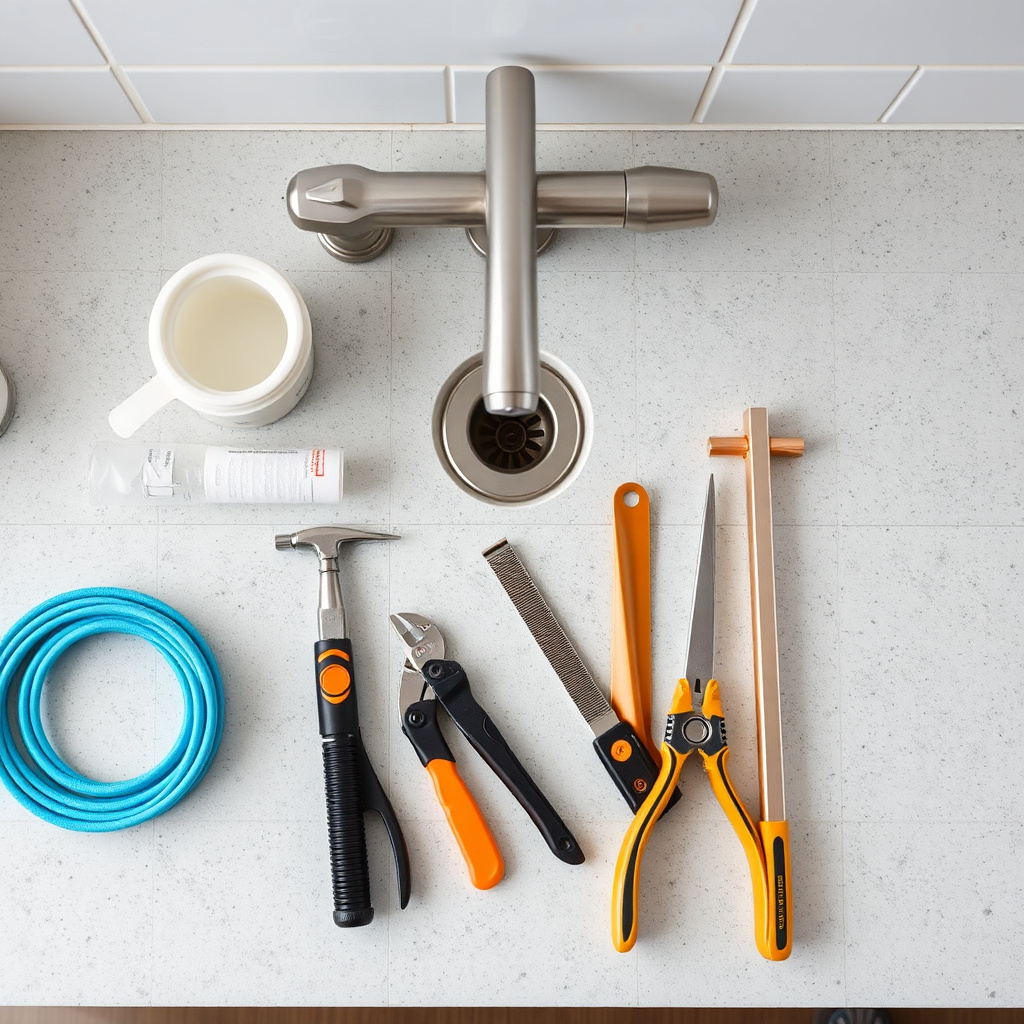
Replacing a kitchen sink requires a set of basic tools including an adjustable wrench, basin wrench, plumber’s putty, silicone sealant, screwdrivers, and a bucket. Having these tools ready prevents delays and helps you handle plumbing components securely.
A utility knife and putty knife help remove old sealants and caulk. Additionally, pipe cutters or hacksaws might be needed if you must adjust plumbing pipes. A flashlight could assist in tight, dark cabinet spaces.
- Adjustable wrench
- Basin wrench
- Plumber’s putty and silicone sealant
- Screwdrivers
- Utility knife and putty knife
- Bucket for water collection
Materials and Replacement Parts
Besides the new sink, you may need replacement parts like faucet gaskets, mounting clips, and plumbing connectors (P-trap kits or supply lines). Choosing quality sealants specifically made for kitchen sinks ensures a durable and leak-proof installation.
Keep rag towels and a sponge nearby to clean surfaces during installation. Inspect old plumbing for wear and consider upgrading shutoff valves if they feel brittle or corroded to avoid future leaks.
- New sink and mounting hardware
- Faucet gaskets and seals
- P-trap and supply line connectors
- Plumber’s putty and silicone sealant
- Cleaning materials
Step-by-Step Kitchen Sink Removal Process

Shutting Off Water and Disconnecting Plumbing
Start by turning off the water supply valves under the sink. Then open the faucet to release any residual pressure. Place a bucket beneath the P-trap to catch water as you disconnect the drainpipe and supply lines using an adjustable wrench.
Carefully unscrew and remove the mounting clips or brackets that secure the sink to the countertop. If your sink is sealed with silicone or plumber’s putty, use a utility knife to cut through it gently to avoid damaging the counter.
- Turn off cold and hot water supply valves
- Open faucet to drain pipes
- Disconnect supply lines with wrench
- Remove mounting clips securing the sink
Lifting Out the Old Sink
Once the water lines and drain are detached, gently lift the sink out. It might be necessary to wiggle or carefully pry it loose if stuck from old sealant. Have a helper assist if the sink is heavy, especially for cast iron models.
Inspect the countertop and cabinet area for any water damage or debris. Clean the opening thoroughly and repair any damage before proceeding with new sink installation.
- Gently loosen sink edges from countertop
- Use putty knife to break seal if necessary
- Clean countertop opening thoroughly
- Inspect for water damage and repair
Installing the New Kitchen Sink
Preparing the Sink and Countertop
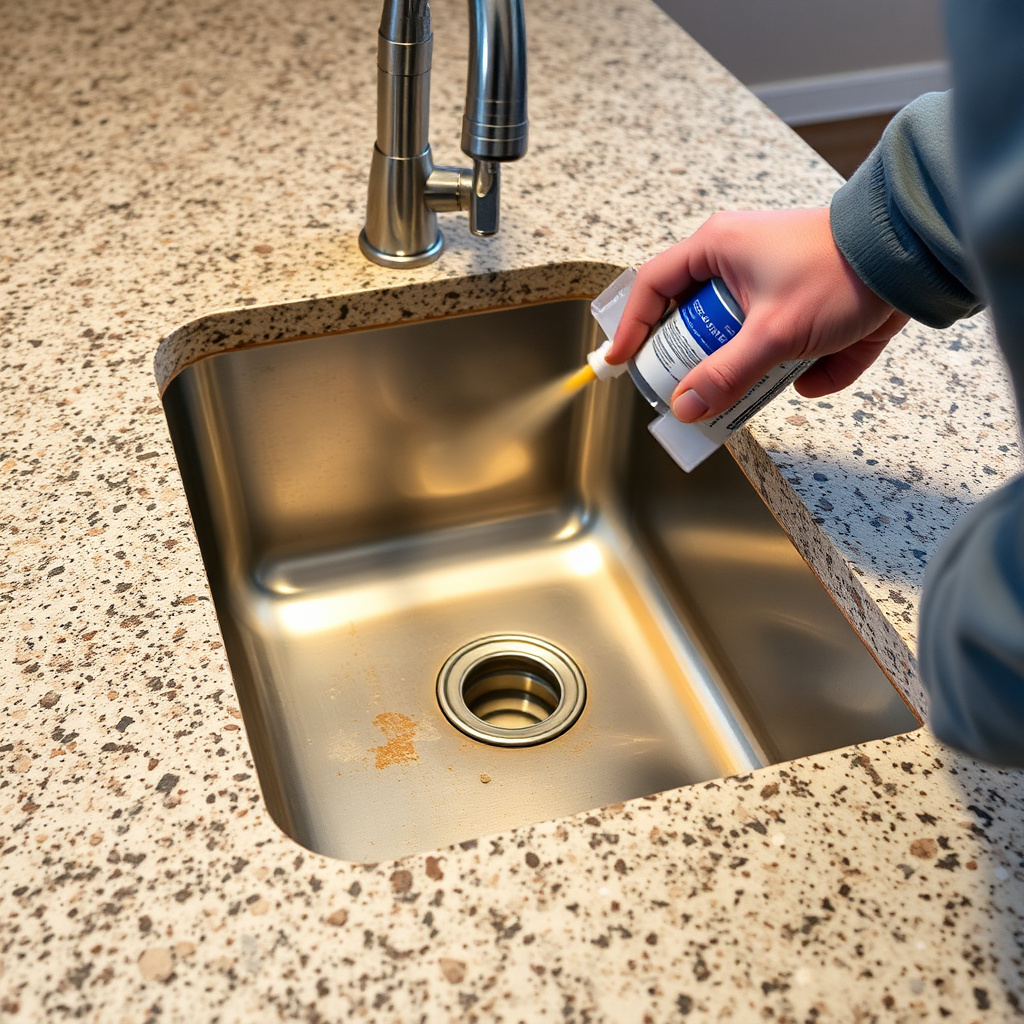
Before installation, apply plumber’s putty or silicone sealant around the sink rim or countertop cutout, depending on sink type. This seal prevents leaks by creating a watertight bond between surfaces.
Attach mounting clips or brackets to the new sink as specified by the manufacturer to secure it firmly. Dry fit the sink to the opening to verify alignment before applying sealant and final placement.
- Apply plumber’s putty or silicone sealant
- Attach mounting brackets or clips
- Perform dry fit to check alignment
- Clean excess sealant after installation
Securing the Sink and Reconnecting Plumbing
Lower the sink carefully into the cutout and tighten mounting clips evenly to avoid shifting. Be cautious not to overtighten, which could crack countertops or damage sinks.
Reconnect the drain assembly and water supply lines. Test for leaks by turning the water back on and running the faucet at full pressure. Tighten any loose fittings if you detect drips.
- Tighten mounting clips securely but gently
- Reconnect drain and P-trap assembly
- Attach supply lines firmly
- Test for leaks and adjust connections
After Installation: Maintenance and Troubleshooting

Routine Maintenance Tips
Regular cleaning with mild soap and avoiding abrasive pads preserves sink finish, especially for composite and porcelain sinks. Check under the sink periodically for leaks and tighten fittings if necessary.
Avoid pouring grease or harsh chemicals down the drain to prevent buildup and corrosion. Using strainers can catch debris and reduce the risk of clogs, keeping your sink functioning well longer.
- Clean sink surface regularly with mild soap
- Inspect plumbing for leaks monthly
- Avoid grease and chemical drain pour
- Use drain strainers to catch debris
For additional background on kitchen sink types and history, see the Kitchen sink Wikipedia article. Kitchen sink Wikipedia article.
Common Issues and Fixes
Leaks around the sink rim often indicate sealant failure. Reapplying silicone sealant carefully around the edges usually fixes the problem. If drains clog, use a plunger or drain snake instead of chemical cleaners to protect pipes.
If water pressure drops, check supply line valves and aerators for blockages. Replacing old supply hoses can restore flow. For persistent problems, consulting a plumber can protect your kitchen investment.
- Reapply silicone sealant to fix leaks
- Use drain snakes for clogs over chemicals
- Check and clean faucet aerators
- Replace aging supply lines as needed
Kitchen Sink Types Comparison
This table compares the main kitchen sink types by material, durability, maintenance, and cost to help you make an informed replacement choice.
| Sink Type | Durability | Maintenance | Cost Range | Aesthetic Appeal |
|---|---|---|---|---|
| Stainless Steel | High | Low, resists rust and stains | $100 – $400 | Modern, versatile |
| Cast Iron | Very High | Requires careful cleaning to avoid chipping | $300 – $700 | Classic, glossy finish |
| Composite Granite | High | Resistant to scratches and stains, mild cleaning | $250 – $600 | Elegant, natural stone look |
| Porcelain | Medium | Can chip or stain, gentle cleaning needed | $150 – $400 | Vintage, smooth glossy |
Frequently Asked Questions
Can I replace a kitchen sink myself without professional help?
Yes, with basic plumbing knowledge and tools, most homeowners can replace a kitchen sink by following step-by-step instructions carefully.
How long does it take to replace a kitchen sink?
On average, replacing a kitchen sink takes about 2 to 4 hours, depending on sink type and plumbing complexity.
Do I need special tools to replace a kitchen sink?
Standard plumbing tools like an adjustable wrench, basin wrench, plumber’s putty, and sealant are usually sufficient for sink replacement.
What should I do if the new sink doesn’t fit the existing countertop cutout?
You may need to modify the countertop or select a sink that matches the existing cutout dimensions for a proper fit.
How do I know if my plumbing lines need upgrading during sink replacement?
Signs include corrosion, leaks, or brittle supply lines. Inspecting plumbing during replacement helps decide if upgrades are necessary.
Key Takeaways
- Measure accurately to select the right sink size and style.
- Gather all necessary tools and materials before starting.
- Remove the old sink carefully to avoid damage.
- Seal and connect plumbing properly to prevent leaks.
Conclusion
Replacing a kitchen sink involves careful preparation, accurate measurements, and systematic work to remove the old unit and install the new one. Assessing types and materials impacts your kitchen's look and durability, while choosing the right tools streamlines the process. Proper sealing and plumbing reconnection are vital to avoid leaks and maintain functionality after installation. With patience and the right guidance, this project can be completed successfully by most DIYers.
For those upgrading, stainless steel sinks offer affordable durability, while cast iron suits classic aesthetics but needs more care. Composite granite strikes a balance with strong stain resistance and elegance, whereas porcelain fits vintage kitchens if handled gently. This guide’s kitchen sink installation guide details step-by-step methods to replace sinks safely and maintain plumbing integrity, making any model manageable for installation.
If you're new to this task, start by carefully measuring and selecting a sink compatible with your plumbing. Follow each removal and installation step described here to avoid costly errors. Inspect your plumbing for wear or leaks during replacement to decide on needed upgrades. When unsure, consulting a professional plumber for complex modifications secures a reliable kitchen sink that lasts many years.