How to Reface Kitchen Cabinets: A Step-by-Step Guide
Refacing kitchen cabinets involves replacing the cabinet doors and drawer fronts while covering the existing cabinet boxes with a new veneer or laminate. This method gives your kitchen a fresh, updated look without the expense and hassle of a full remodel. It’s a practical choice if your cabinet boxes are in good condition but the exterior is worn or outdated.
Updating your kitchen’s appearance can significantly boost your home’s value and make daily cooking more enjoyable. Cabinet refacing is a cost-effective solution that provides a modern finish, improves functionality, and can be completed in just a few days compared to a full cabinet replacement.
This article covers everything from evaluating your current cabinets to choosing materials, the step-by-step refacing process, including removal and installation tips, and alternative options like cabinet door replacement. We also offer advice on tools, timelines, and common pitfalls to avoid for a smooth project.
Planning Your Kitchen Cabinet Refacing Project
Assessing the Condition of Existing Cabinets
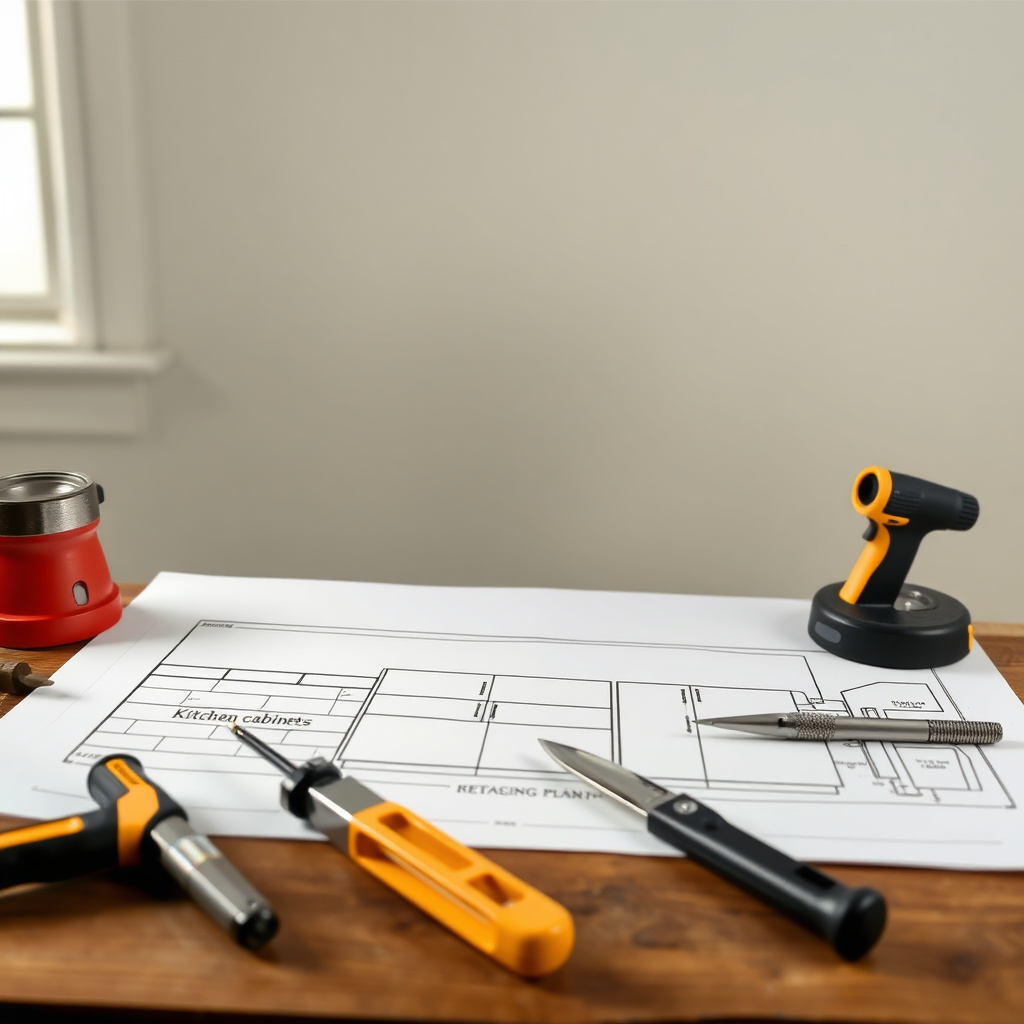
Before deciding to reface kitchen cabinets, inspect the cabinet boxes to ensure they are structurally sound. Look for signs of water damage, warping, or mold. If the integrity of the cabinets is compromised, refacing may not be the best solution.
Measure your cabinets accurately to determine material needs. Take note of any custom features like built-in organizers or glass doors that may require special handling during the refacing process.
- Check for moisture damage inside and under cabinets
- Inspect door hinges and drawer slides
- Measure height, width, and depth of all cabinet faces
Choosing Materials for Refacing
Common materials for cabinet refacing include wood veneers, laminate, and thermofoil. Each has unique advantages: wood provides a classic look, laminate offers durability and variety in finishes, and thermofoil is easy to clean and affordable.
Consider the style and color that complement your kitchen design. Veneers often require sealing to protect against moisture, while laminate can mimic wood grain or smooth finishes.
- Wood veneers for traditional or upscale aesthetics
- Laminate for budget-friendly variety and durability
- Thermofoil for easy-to-clean, smooth surfaces
Removing and Preparing Your Cabinets for Refacing

Removing Cabinet Doors and Hardware
Start by removing all cabinet doors, drawer fronts, and hardware like handles and hinges. Label each piece to match its location, simplifying reinstallation later. Use a drill or screwdriver to carefully unscrew the hinges and pulls.
Keep screws and small hardware organized in labeled bags. This prevents losing parts and makes it easier when installing new doors or veneer.
- Use a drill with screwdriver bit
- Label doors and hardware by cabinet
- Store screws and hinges securely
Cleaning and Repairing Cabinet Boxes
Thoroughly clean the cabinet boxes to remove grease, dust, and old adhesives. Use a degreaser or warm soapy water and a scrubbing sponge. Allow surfaces to dry completely before applying new materials.
Repair small dents or scratches with wood filler. Sand any rough areas smoothly for proper veneer adhesion and a professional finish.
- Degrease cabinet surfaces
- Fill holes and scratches with wood putty
- Sand surfaces lightly to ensure smoothness
Installing New Veneer and Cabinet Doors
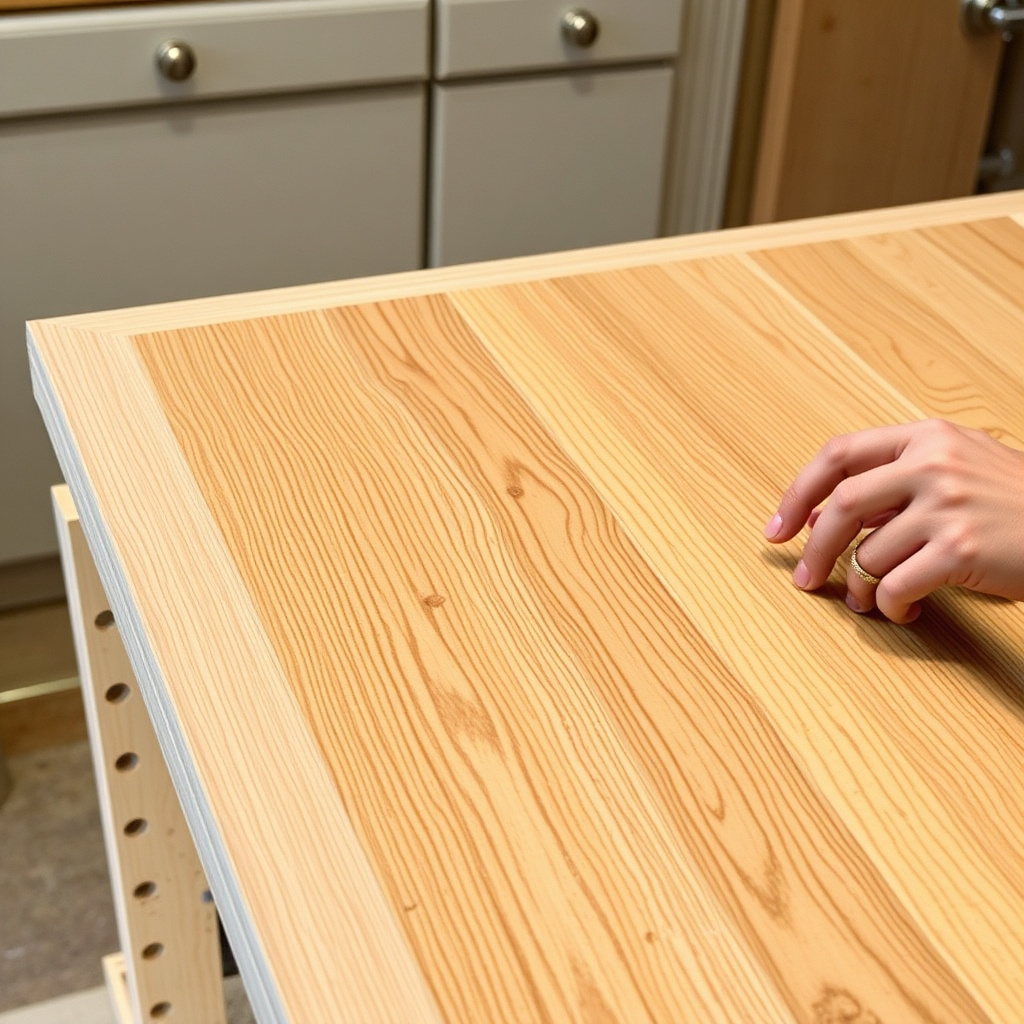
Applying Veneer or Laminate on Cabinet Boxes
Cut veneer or laminate sheets to fit cabinet box faces exactly. Use contact cement or veneer glue to adhere sheets securely, pressing out bubbles with a roller or flat tool.
Trim excess material carefully using a utility knife. Allow the adhesive to cure according to manufacturer instructions before handling cabinets.
- Measure twice, cut once
- Use strong adhesive for lasting bonds
- Smooth bubbles with a roller or plastic card
Installing Replacement Cabinet Doors and Hardware
Mount the new cabinet doors using the hardware and hinges selected or reused. Check the alignment and spacing between doors for a uniform appearance. Adjust hinge screws if necessary to ensure smooth operation.
Attach new drawer fronts following the same process, ensuring handles or knobs are securely fastened and ergonomically placed.
- Align doors for even spacing
- Secure hinges tightly to prevent sagging
- Verify drawer slides operate smoothly
Alternatives to Full Cabinet Refacing

Cabinet Door Replacement Options
If your cabinet boxes are in good shape but the doors are outdated, replacing only the cabinet doors is a simpler alternative to full refacing. This option is less labor-intensive and often more affordable, providing a fresh look with minimal disruption.
Selecting from standard sizes or custom doors can tailor the update to your kitchen's style, letting you upgrade to shaker, flat-panel, or glass-front doors without touching the cabinet frames.
- Stock vs. custom door options
- Material choices from wood to MDF
- Painted or stained finishes
Painting and Refinishing Cabinets
Instead of replacing doors or veneers, some homeowners repaint or refinish the existing cabinets. This approach requires thorough sanding, priming, and coating with durable paint or stain for a refreshed, durable finish.
While this method is cost-effective and less complex, it doesn’t address damaged cabinet faces underneath and may require more frequent touch-ups.
- Proper surface preparation
- Using cabinet-grade paint
- Multiple coat application for durability
Tools and Materials Needed for Cabinet Refacing

Essential Tools for the Project
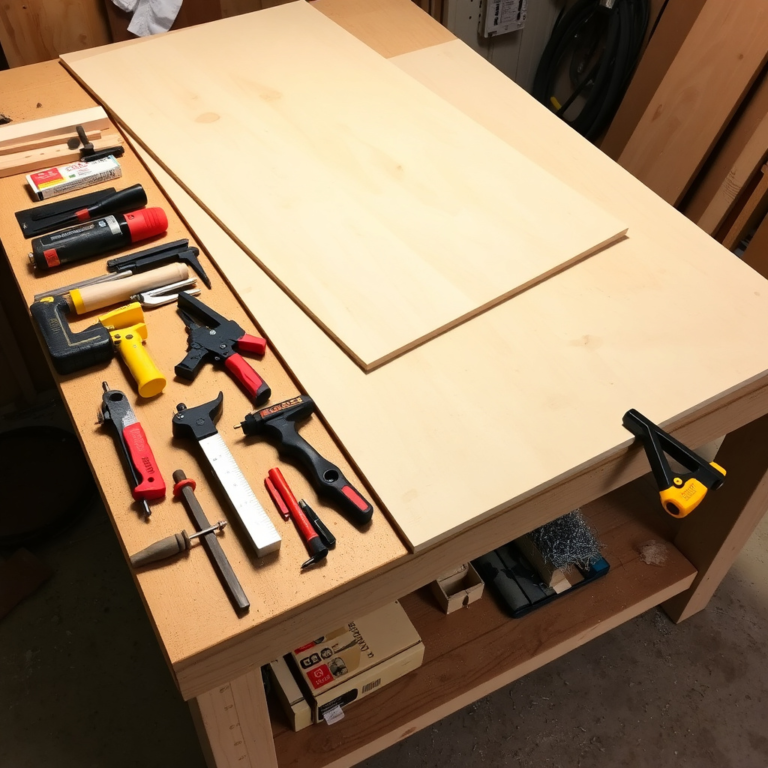
A power drill with screwdriver bits is critical for removing and reattaching doors and hardware. Utility knives, clamps, and sanding blocks help with precise veneer cutting and installation.
Additional tools include a roller for smoothing veneer, measuring tape for accurate cuts, and safety gear such as gloves and goggles for protection.
- Power drill and screwdriver bits
- Utility knife and clamps
- Sanding blocks and roller
- Measuring tape and safety goggles
Materials Required for Refacing
Purchase high-quality veneer or laminate sheets sized to fit your cabinet faces, along with appropriate adhesives like contact cement or wood glue. New hinges, knobs, and drawer pulls may be needed if upgrading hardware.
Wood filler and sandpaper are useful for prep work, while painter’s tape can protect adjacent surfaces during application.
- Veneer or laminate sheets
- Contact cement or veneer glue
- Replacement hardware (hinges, handles)
- Wood filler, sandpaper, painter's tape
Timeframe and Cost Considerations for Refacing
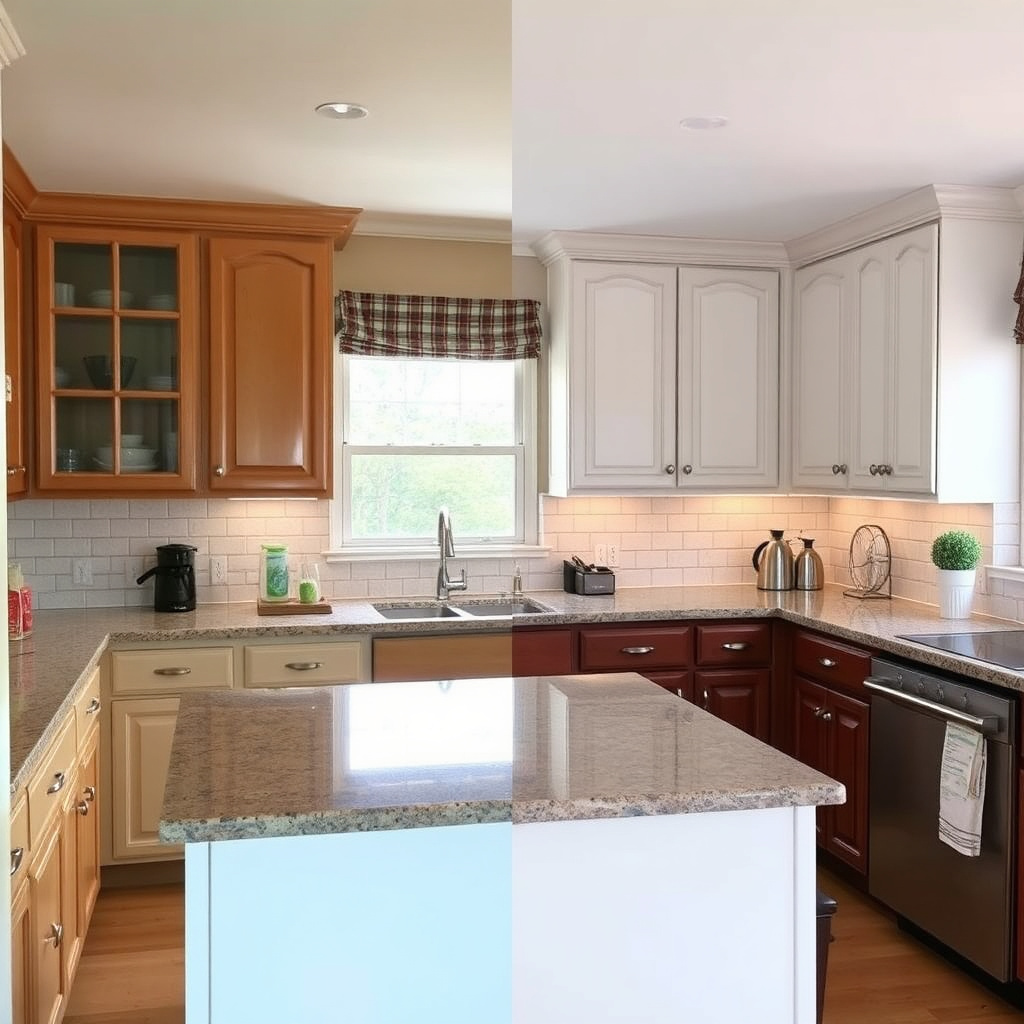
Estimating Project Time
A typical kitchen cabinet refacing project can take anywhere from 3 to 7 days, depending on the kitchen size and complexity. Small kitchens may be completed in a weekend, while larger layouts require more prep and installation time.
Allow time for adhesive curing and careful door fitting to ensure a durable and visually pleasing result without rushing steps.
- Small kitchens: 2-3 days
- Medium kitchens: 4-5 days
- Large kitchens: 6-7 days
For more detailed background on kitchen cabinetry and renovation options, see this kitchen cabinet refacing overview. Kitchen cabinet refacing overview.
Budgeting for Materials and Labor
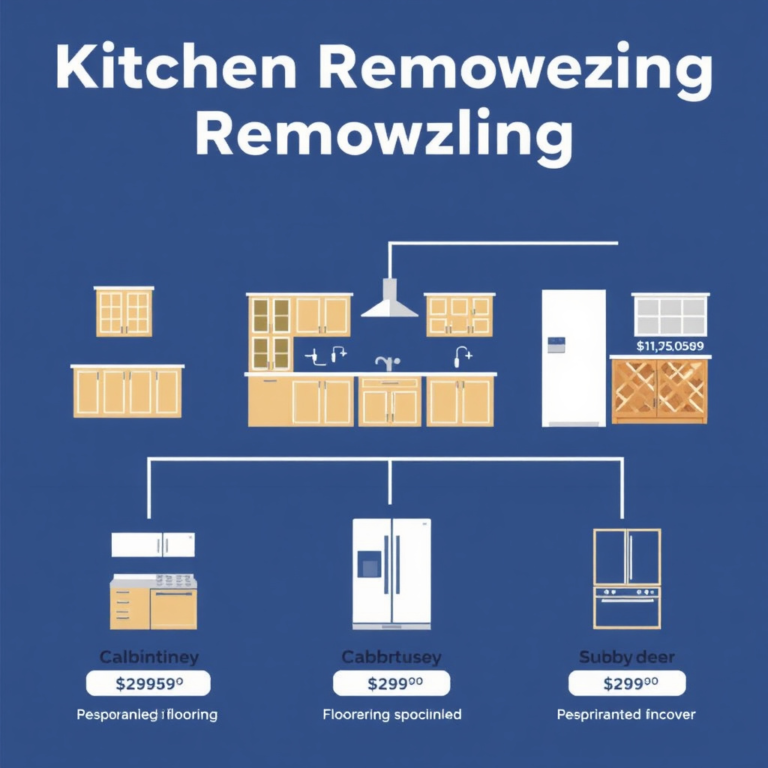
Refacing kitchen cabinets typically costs about 50-70% less than full cabinet replacement. Material prices vary depending on veneer grade and door style, while labor can represent a significant portion if hiring professionals.
DIY enthusiasts can save extensively on labor but should budget for quality tools and materials to achieve a lasting transformation.
- Material costs: $1000 to $4000 depending on materials
- Labor costs: $1500 to $3500 if professional installation
- DIY can reduce labor costs significantly
Kitchen Cabinet Refacing vs. Replacement: A Category Comparison
This table outlines key differences between cabinet refacing and full cabinet replacement to help you decide the best option for your kitchen upgrade.
| Category | Refacing | Replacement | Painting/Refinishing |
|---|---|---|---|
| Cost | $1500 – $5000 | $5000 – $15000 | $500 – $1500 |
| Time Required | 3-7 days | 7-14 days | 2-5 days |
| Skill Level | Intermediate DIY or professional | Professional recommended | DIY possible with patience |
| Durability | Good if cabinets are solid | Longest-lasting | Moderate, requires upkeep |
| Visual Impact | Significant updated look | Complete design change | Subtle refresh |
Frequently Asked Questions
Can I reface kitchen cabinets myself?
Yes, refacing can be done by experienced DIYers with the right tools and careful attention to detail. However, professional installation may provide more consistent results, especially for complex kitchens.
How long does cabinet refacing last?
Properly done cabinet refacing typically lasts 10-15 years. This depends on the quality of materials and installation, plus how well the cabinets are maintained over time.
Is refacing better than replacing cabinets?
Refacing is better if your cabinet boxes are in good shape and you want to update finishes quickly and affordably. Replacing cabinets is better if you need new layouts or the cabinet structure is damaged.
What types of materials are used for cabinet veneer?
Common veneer materials include wood veneers, laminate, and thermofoil. Each offers different aesthetics and durability levels to suit various kitchen styles and budgets.
Will refacing kitchen cabinets increase my home’s value?
Yes, refacing can boost home value by improving your kitchen’s appearance with a modern look. It is a cost-effective upgrade that appeals to many buyers.
Key Takeaways
- Refacing updates cabinet exteriors by applying new veneers and doors, preserving cabinet boxes.
- Good for kitchens with solid cabinet structures, offering a faster and cheaper upgrade compared to replacement.
- Material choices include wood veneer, laminate, and thermofoil to match design preferences and budgets.
- Planning and prep work like cabinet inspection and cleaning are essential for quality results.
Conclusion
When deciding how to update your kitchen aesthetic, understanding if your existing cabinets are suitable for refacing is the first major step. Evaluating the condition of the cabinet boxes enables you to choose the right approach—refacing if the structure is sound, or replacement if damaged. This method can save significant time and money while delivering a refreshed appearance that improves your daily cooking experience and adds value to your home.
For a kitchen with well-maintained cabinet frames, refacing offers an ideal balance between cost and impact. Selecting wood veneer or laminate veneers lets you tailor the look to fit rustic, modern, or classic designs. Alternatively, cabinet door replacement can provide a simpler facelift in less time. If you have patience and prefer budget options, painting or refinishing existing doors can also renew your kitchen’s style without removing hardware or veneer.
Start your project by measuring cabinets thoroughly and sourcing quality materials such as veneer sheets and replacement doors. Whether taking on the task yourself or hiring a professional, following the step-by-step guidance on removal, surface preparation, and installation will help you achieve a polished finish. The next step is to gather tools and create a timeline, ensuring a smooth kitchen transformation without disruptive downtime.