How to Sharpen Kitchen Knives for a Razor-Sharp Edge at Home
Sharpening kitchen knives is essential for safe and efficient food preparation, and it can be done easily at home with a few tools and the right technique. The simplest way to sharpen your knives involves using a whetstone or a honing rod to restore the blade’s edge, removing dullness and nicks without damaging the metal.
Keeping knives sharp matters because a dull blade requires more force, leading to slips and accidents, and it can tear food rather than slicing cleanly. Regular sharpening prolongs the life of your knives and improves your cooking experience by allowing precise cuts. Many kitchen knife owners overlook this maintenance step, which can affect both performance and safety.
This guide explains the step-by-step process of sharpening kitchen knives, including how to select suitable sharpening tools, methods for sharpening with a whetstone and honing rod, and tips on maintaining your knives post-sharpening. By the end, you’ll understand how to keep your blades consistently sharp for everyday use.
Choosing the Right Tools for How to Sharpen Kitchen Knives

Types of Sharpening Tools
The most popular tools for sharpening kitchen knives include whetstones, honing rods, electric sharpeners, and pull-through sharpeners. Whetstones offer precise control and can restore severely dull blades, while honing rods primarily realign the edge without removing much metal. Electric and pull-through sharpeners provide convenience but may sacrifice blade longevity if used improperly.
Selecting the right tool depends on your knife's condition and how comfortable you are with sharpening. Serious cooks often prefer whetstones for their versatility and effectiveness despite requiring more technique, whereas casual users might opt for electric options for speed.
- Whetstone (water or oil stone)
- Ceramic honing rod
- Electric knife sharpener
- Manual pull-through sharpener
Choosing the Correct Grit for Whetstones
Whetstones come in varying grit levels, each designed for a different sharpening stage. Coarse grits (200-600) are used to repair damaged or extremely dull edges, medium grits (800-1500) refine the edge, and fine grits (3000-8000) polish the blade to a razor-sharp finish.
For most kitchen knives, starting with a medium grit stone and finishing with a fine grit is sufficient to restore and maintain sharpness. Beginners should avoid coarse grits unless the blade is chipped or very dull to prevent removing too much metal.
- Coarse grit: 200-600 (repair and reshaping)
- Medium grit: 800-1500 (sharpening)
- Fine grit: 3000-8000 (polishing)
Preparing Your Knife and Workspace Before Sharpening

Cleaning and Inspecting the Knife
Before sharpening, thoroughly clean the knife to remove food residue and grease. This prevents contaminants from affecting the sharpening surface. Inspect the blade for any chips or deep damage that might require special attention or professional repair.
A clean, dry blade ensures consistent sharpening and reduces the risk of slipping during the process. Make sure to handle the knife safely and use gloves if necessary.
Setting Up a Stable Sharpening Area
Sharpening requires a steady workspace to avoid accidents and uneven sharpening. Place a damp towel or non-slip mat under the whetstone or sharpening tool to prevent movement. Ensure good lighting so you can see the blade edge clearly throughout the procedure.
Keep all sharpening tools and water or lubricant within reach to maintain a smooth workflow, minimizing distractions and reducing the chance of mistakes.
Step-by-Step Guide to Sharpening with a Whetstone

Soaking and Preparing the Whetstone
If using a water whetstone, soak it in water for 10 to 15 minutes until no more bubbles appear, ensuring it is fully saturated. Oil stones require a thin layer of sharpening oil instead. Proper preparation helps the stone gently abrade the blade surface evenly and efficiently.
Once ready, place the stone firmly on your workspace with the coarse grit side facing up to begin the initial sharpening stage, especially for dull knives.
- Soak water stone for 10-15 minutes
- Apply oil if using oil stone
- Place stone on non-slip surface
Sharpening Technique and Angle Control
Hold the knife at roughly a 15 to 20-degree angle to the stone, depending on the knife’s design. Using smooth, controlled strokes, push or pull the blade edge against the stone’s surface, applying moderate pressure. Always sharpen both sides evenly to maintain blade symmetry.
Count strokes or sharpen for equal time on each side to balance the edge. After the initial coarse stage, flip the stone to a finer grit and repeat the process to polish the edge. Finish by rinsing and drying the knife carefully.
- Maintain 15-20 degree angle
- Use equal strokes per side
- Progress from coarse to fine grit
Using Honing Rods and Manual Sharpeners
How to Hone Your Knives Properly
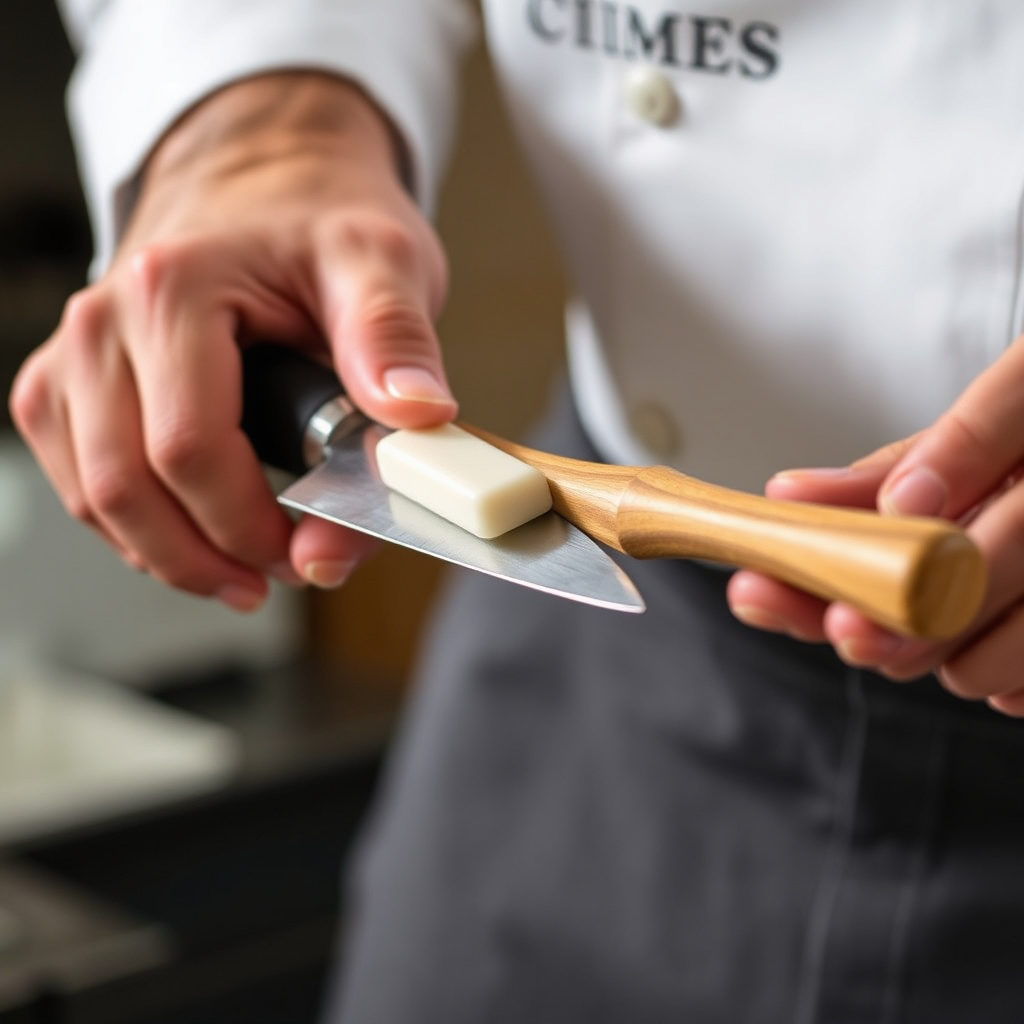
Honing rods do not really sharpen but rather realign the microscopic edge of the blade, which bends after use. Hold the rod vertically and draw the knife down along the rod at a 15-20 degree angle on each side in smooth strokes. This process maintains sharpness between sharpenings.
Use a ceramic or steel honing rod regularly to keep your knives performing well. Avoid excessive force to prevent edge damage, and remember honing doesn’t fix chipped or very dull blades.
- Use 15-20 degree angle
- Alternate sides evenly
- Hone before or after each use
Manual Pull-Through Sharpeners: Pros and Cons
Manual pull-through sharpeners typically feature preset angle guides and abrasive slots for quick sharpening. They are user-friendly and good for beginners needing modest blade maintenance. However, they can remove more metal than whetstones and sometimes reduce blade lifespan.
These sharpeners are suitable for occasional touch-ups but are less precise and adaptable than whetstones, especially for high-quality or specialty knives.
- Quick and easy for casual use
- Fixed sharpening angles
- Less control over edge consistency
Maintaining and Storing Sharp Knives Post-Sharpening
Cleaning and Drying After Sharpening
Immediately after sharpening, wash the knives with warm soapy water to remove metal filings and stone residue. Dry thoroughly with a soft towel to prevent rust, especially on carbon steel blades, which are more prone to corrosion.
Proper post-sharpening care preserves the blade’s condition and enhances performance, keeping knives ready for smooth, safe cutting.
For a detailed overview of knife sharpening principles and methods, refer to Knife sharpening techniques at Wikipedia. Knife sharpening techniques at Wikipedia.
Safe Storage Solutions to Preserve Sharpness
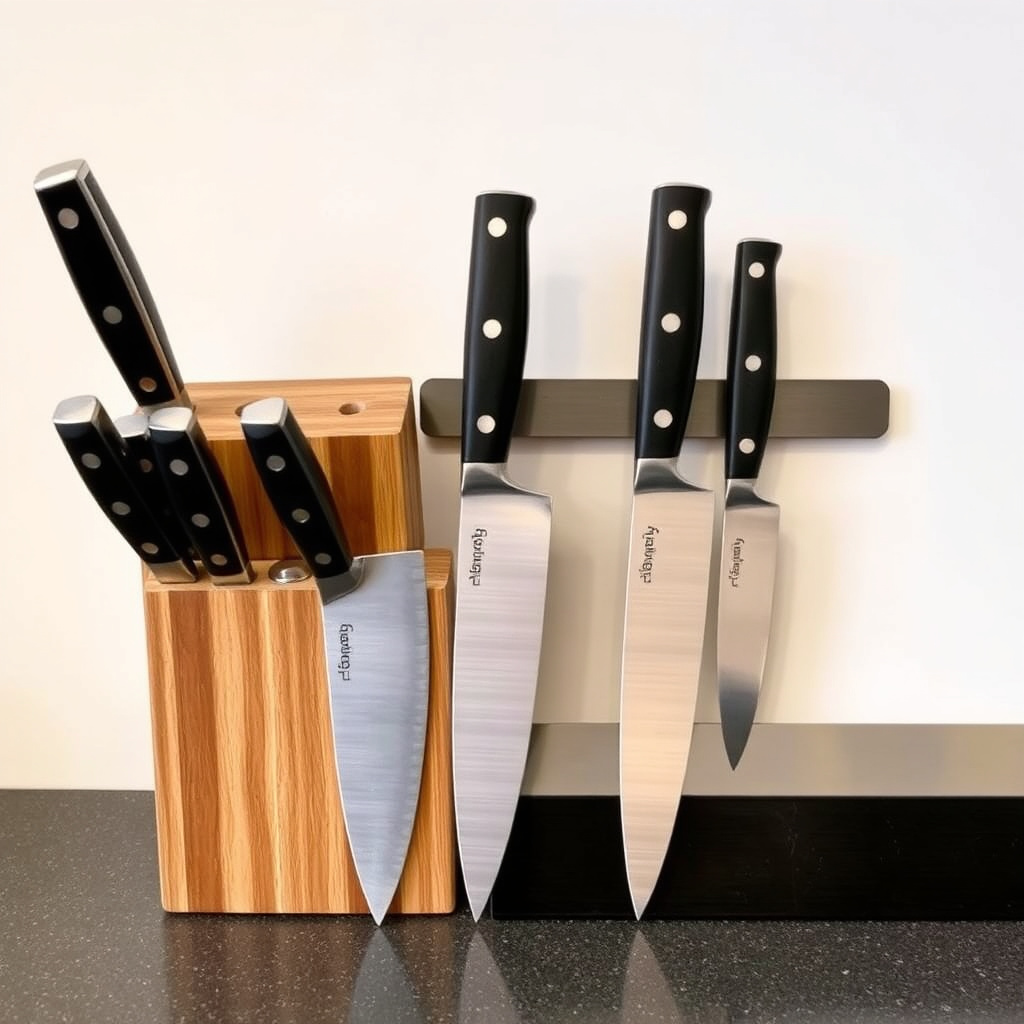
Store knives carefully to avoid dulling from contact with other utensils or surfaces. Use knife blocks, magnetic strips, or blade guards that protect edges without causing damage. Avoid loose placement in drawers where blades rub against harder items.
Correct storage extends intervals between sharpening sessions and keeps your kitchen organized and safe.
- Use magnetic strips or blocks
- Employ blade guards for transport
- Avoid loose drawer storage
Knife Sharpening Tool Category Comparison
This table compares popular sharpening tools based on precision, ease of use, maintenance, and cost for kitchen knives.
| Category | Precision | Ease of Use | Maintenance | Cost Range |
|---|---|---|---|---|
| Whetstone | High | Requires practice | Medium (soak/clean) | $20 – $100 |
| Honing Rod | Low (realigns edge) | Easy | Low | $10 – $40 |
| Electric Sharpener | Medium | Very easy | Medium (cleaning) | $50 – $200 |
| Manual Pull-Through | Low to Medium | Very easy | Low | $15 – $50 |
Frequently Asked Questions
How often should I sharpen my kitchen knives?
Frequency depends on use, but sharpening every 6-12 months is typical for home cooks, with more frequent honing to maintain the edge.
Can I use any whetstone to sharpen all kitchen knives?
Most whetstones work for standard kitchen knives, but very hard or specialty steel may require specific stones or professional service.
Is it better to sharpen with a whetstone or use an electric sharpener?
Whetstones provide greater control and a finer edge, but electric sharpeners are faster and easier for casual users.
Can honing rods fix dull knives?
Honing rods realign edges but don't sharpen dull blades. Sharpening with abrasive tools is necessary for truly dull knives.
What angle should I hold my knife when sharpening?
Most kitchen knives are sharpened at an angle between 15 and 20 degrees to balance sharpness and edge durability.
Key Takeaways
- Sharpen kitchen knives regularly to maintain sharp, safe edges.
- Choose the right sharpening tool based on blade condition and skill level.
- Practice consistent angle control and equal sharpening on both sides.
- Store sharpened knives carefully to preserve edge quality over time.
Conclusion
Understanding how to sharpen kitchen knives involves recognizing the balance between restoring sharpness and preserving blade life. Regular maintenance with the appropriate tools like whetstones or honing rods is key to achieving a clean, durable edge that enhances your cooking safety and efficiency. Developing the skill to control sharpening angles and strokes results in more precise and lasting results compared to quick fixes. Being attentive to your knives’ condition and using the right sharpening approach tailored to your needs impacts their performance in the kitchen significantly.
For home cooks with high-quality or frequently used knives, investing time in learning whetstone sharpening delivers the best outcomes. Those seeking convenience can benefit from electric sharpeners for quick touch-ups, though they should occasionally use a whetstone to maintain edge integrity. Honing rods provide excellent maintenance between sharpening sessions but are not a substitute when the blade becomes dull. In cases of chipped or damaged blades, professional sharpening may be necessary to properly restore the edge.
If you want to start sharpening your kitchen knives yourself, begin with a medium grit whetstone and follow careful angle control instructions. Combine this with regular honing to keep edges aligned. Always clean and safely store knives after sharpening to prolong their sharpness. Taking these steps will save money, improve your cooking results, and give you confidence in your knives’ performance.